You may have noticed in my previous post, a fabric flower fastened to my hair (you can see it here too). I knew that I wanted a flower to adorn my head for my aunts wedding, but I could not for the life of me find the one that I was imagining (don’t you hate when this happens?). It seemed that every store I visited carried a selection of horrible plastic flowers trying to look as if they were the real thing. H&M even had one with a fake drop of water atop its petals. (Really, H&M, did you need to go there?) One of my pet peeves is objects that are not true to themselves. For that reason, I detest laminate flooring, faux finishes and, of course, plastic flowers. Quit trying to replicate something you are not! You are the only you! Be the best you that you can be! I don’t believe I’m alone in this, so quit giving me that look.
Back to the point: I marched on out of there (not really – I may have given a look of disgust, a small scowl, and a “did you SEE that thing?!” while meandering over to another section of the store), and decided to make my own.
Here’s how:
.1. go to the dollar store. Purchase a cotton t-shirt (mine was a whopping $1.25. I went for the good cotton – clearly). Or, use any fabric scraps (or old t-shirts) you have lying around the house.
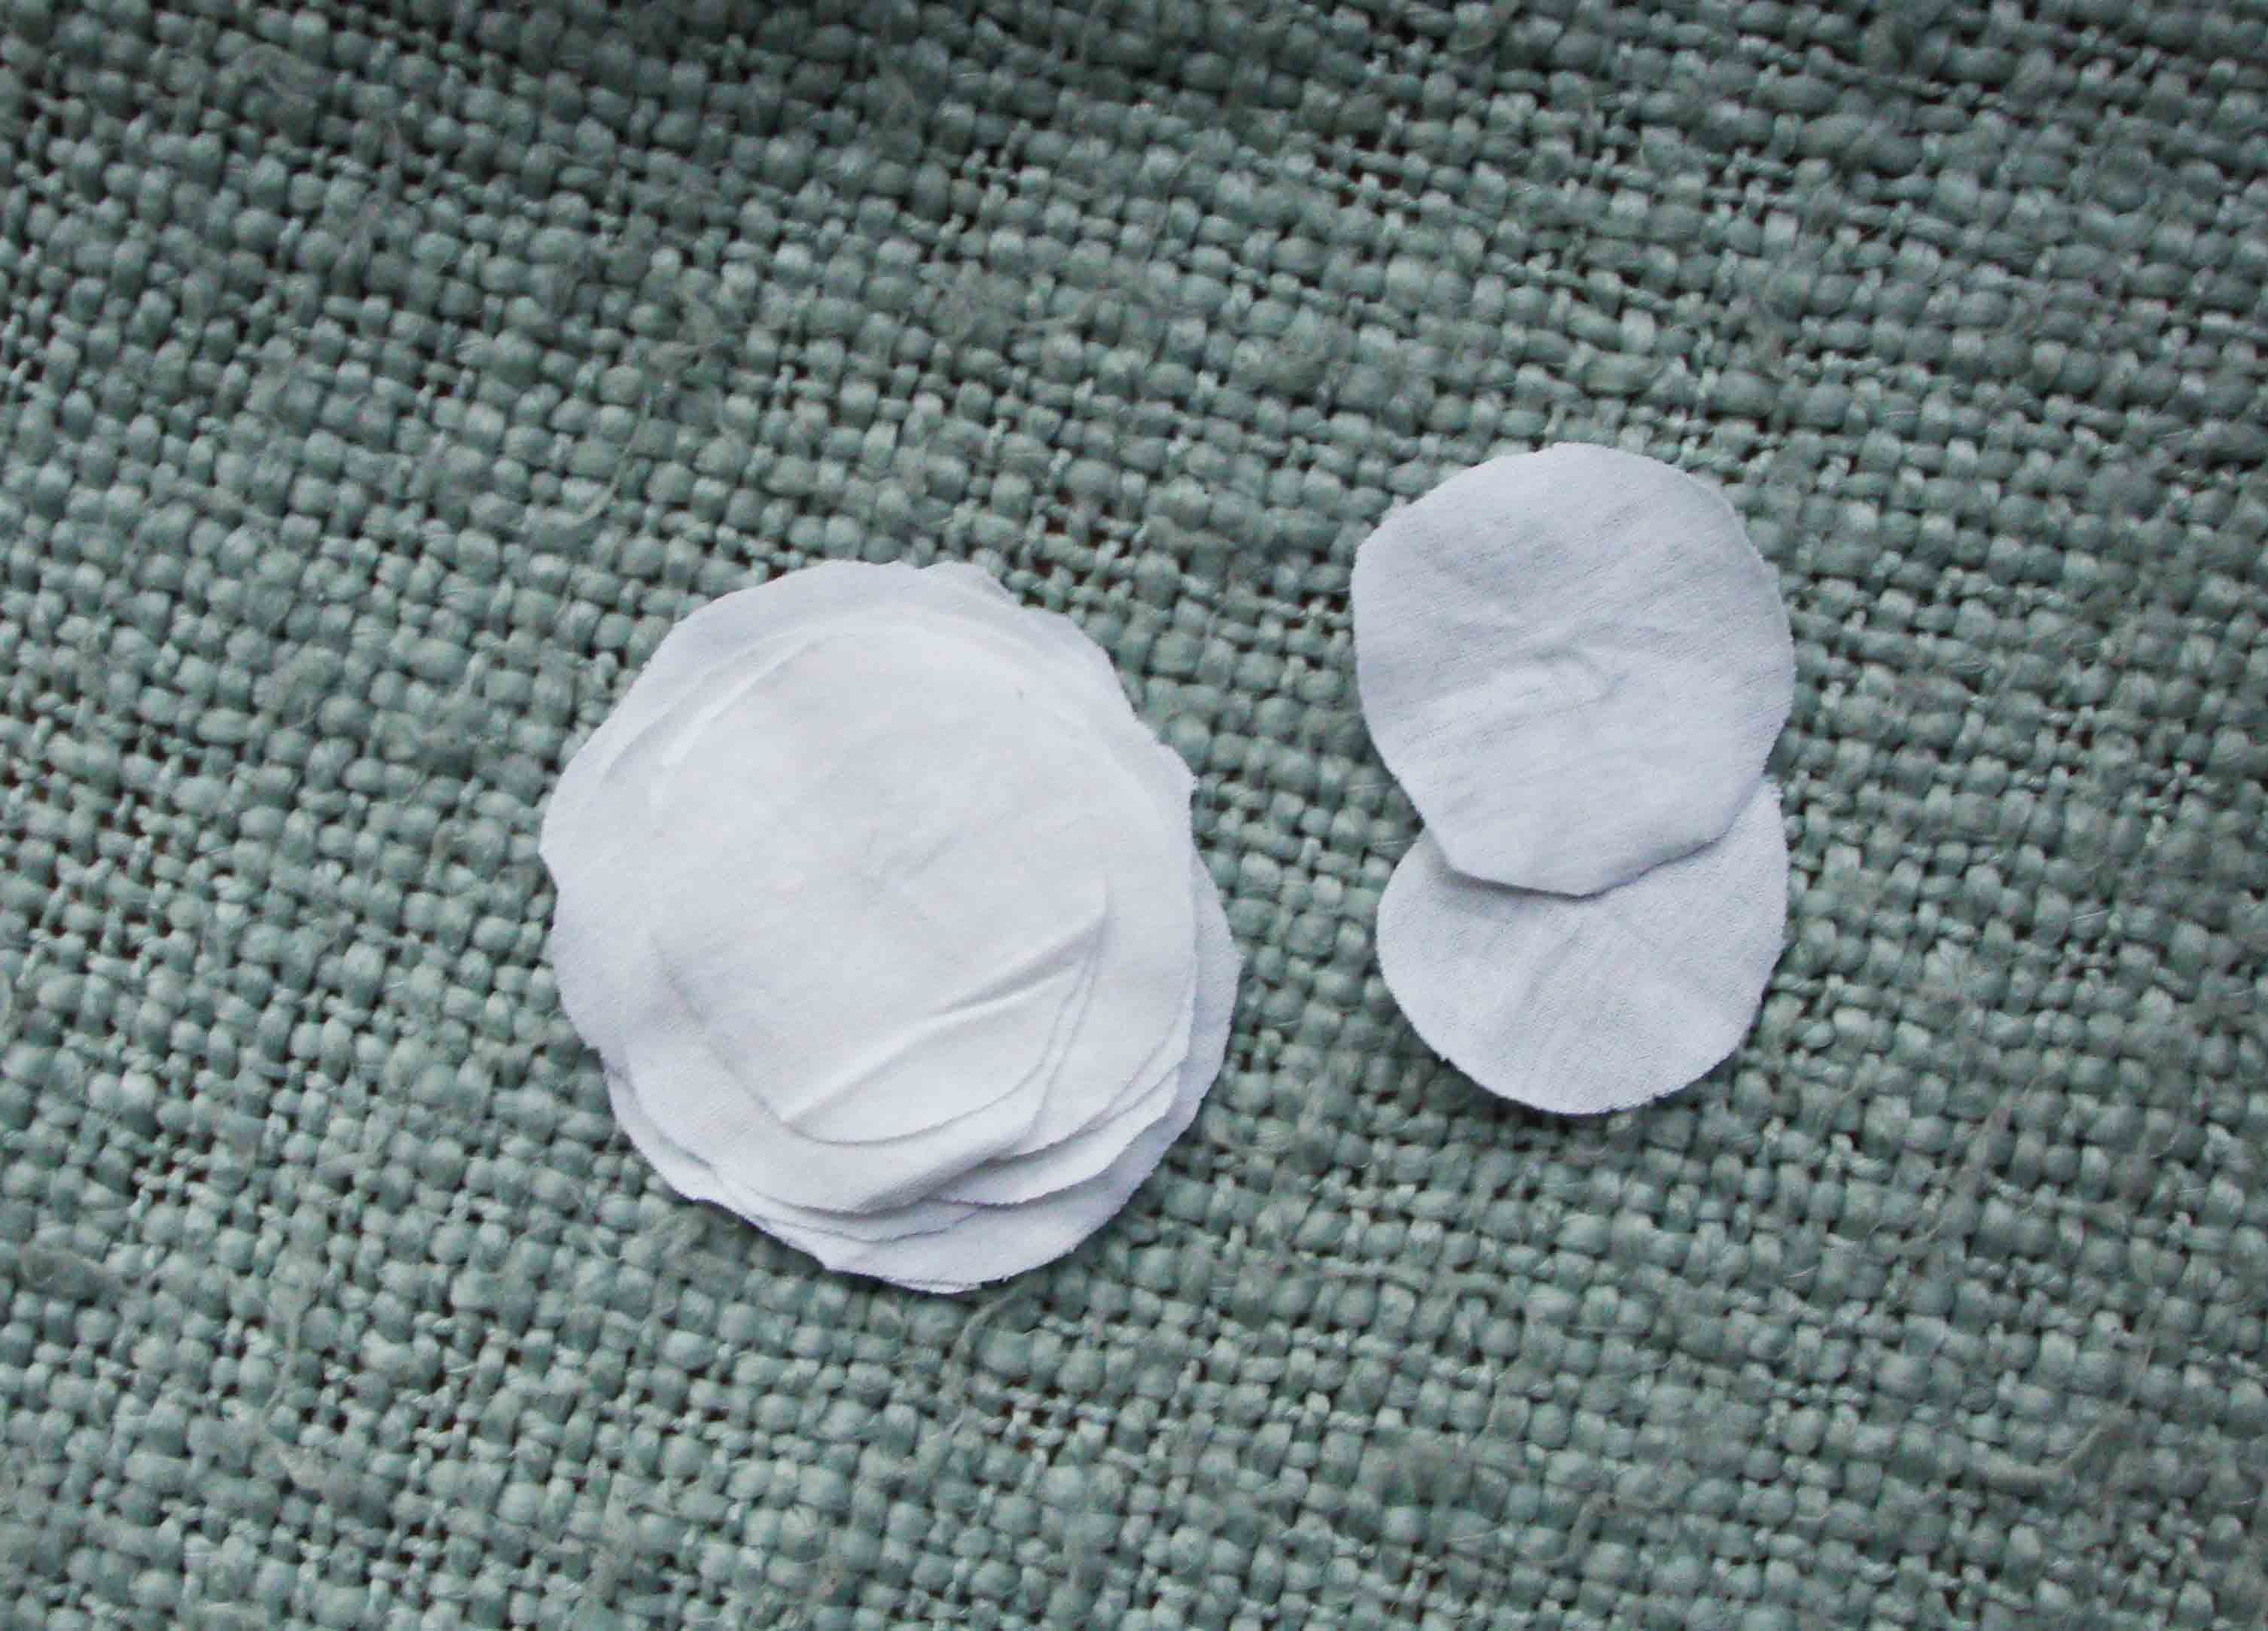 .2. cut your fabric into various circles. The size of your circles will depend on how large you’d like your flower to be. Mine were approximately 3” in diameter, but honestly, anything goes here. They don’t need to be perfect. In fact, the more imperfect, the better! They should, however, get slightly larger as you go about your cutting.
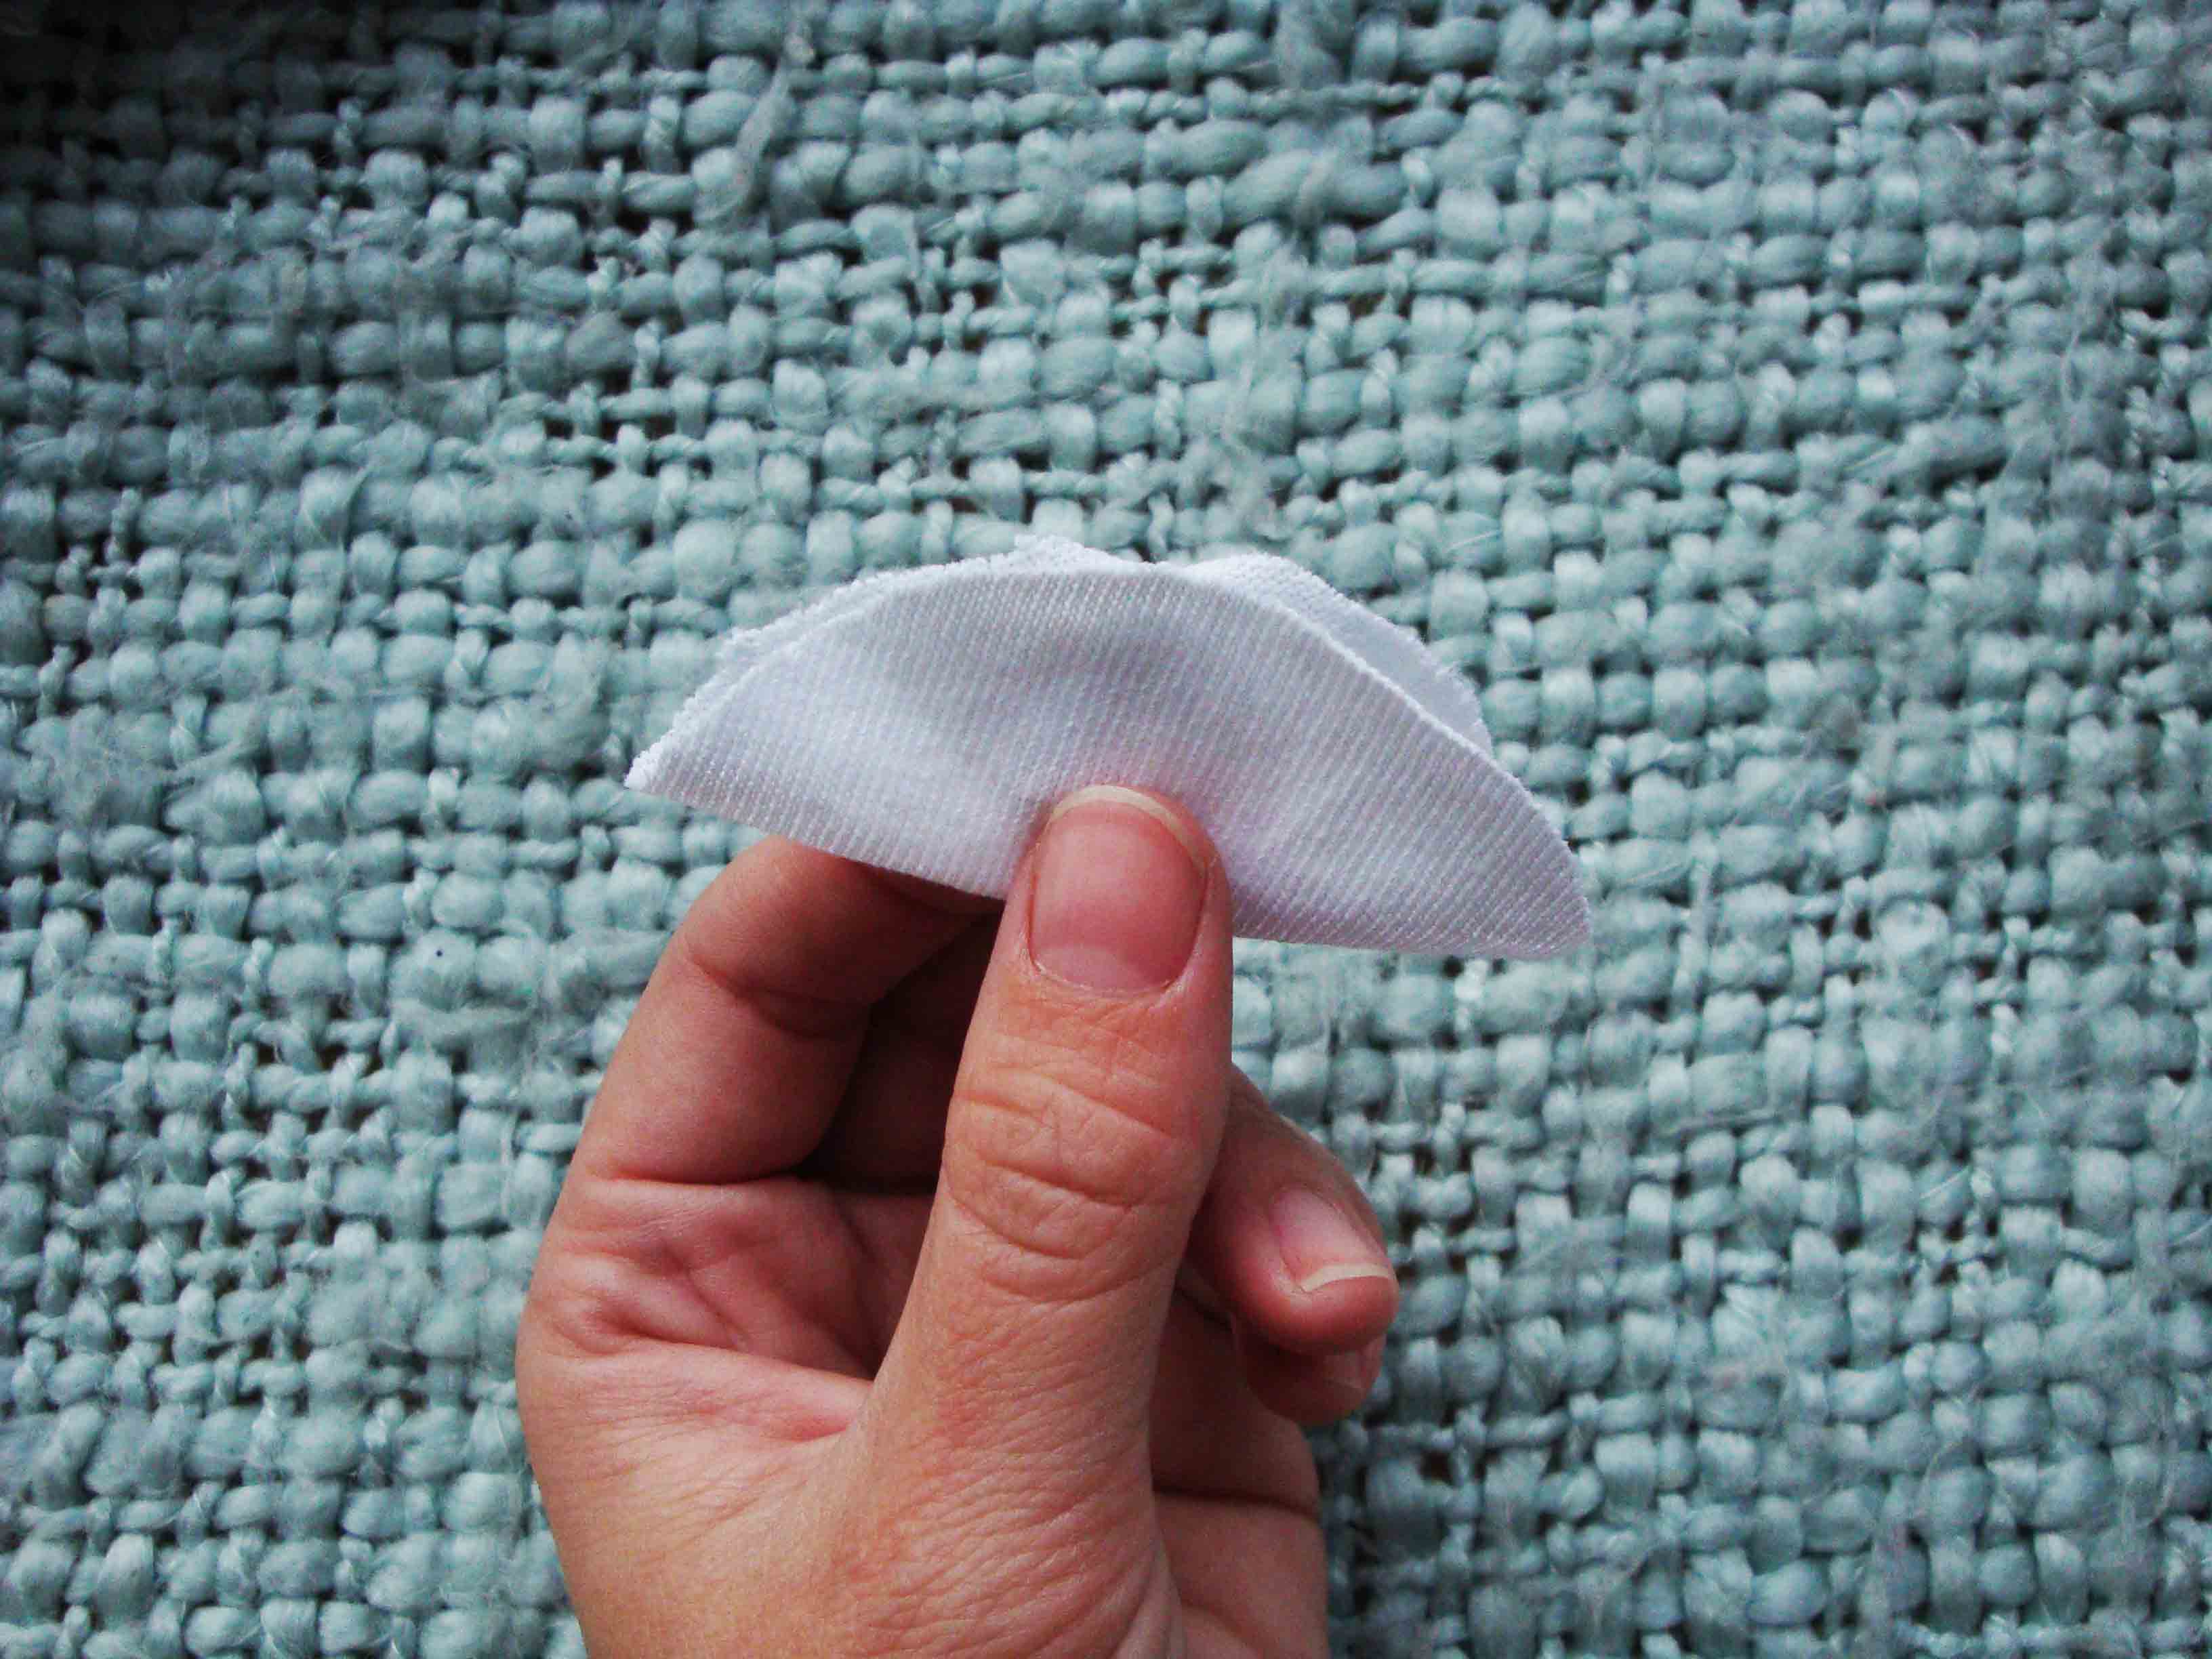 .3. grab a hold of your first circle (the smallest one), and fold it in half
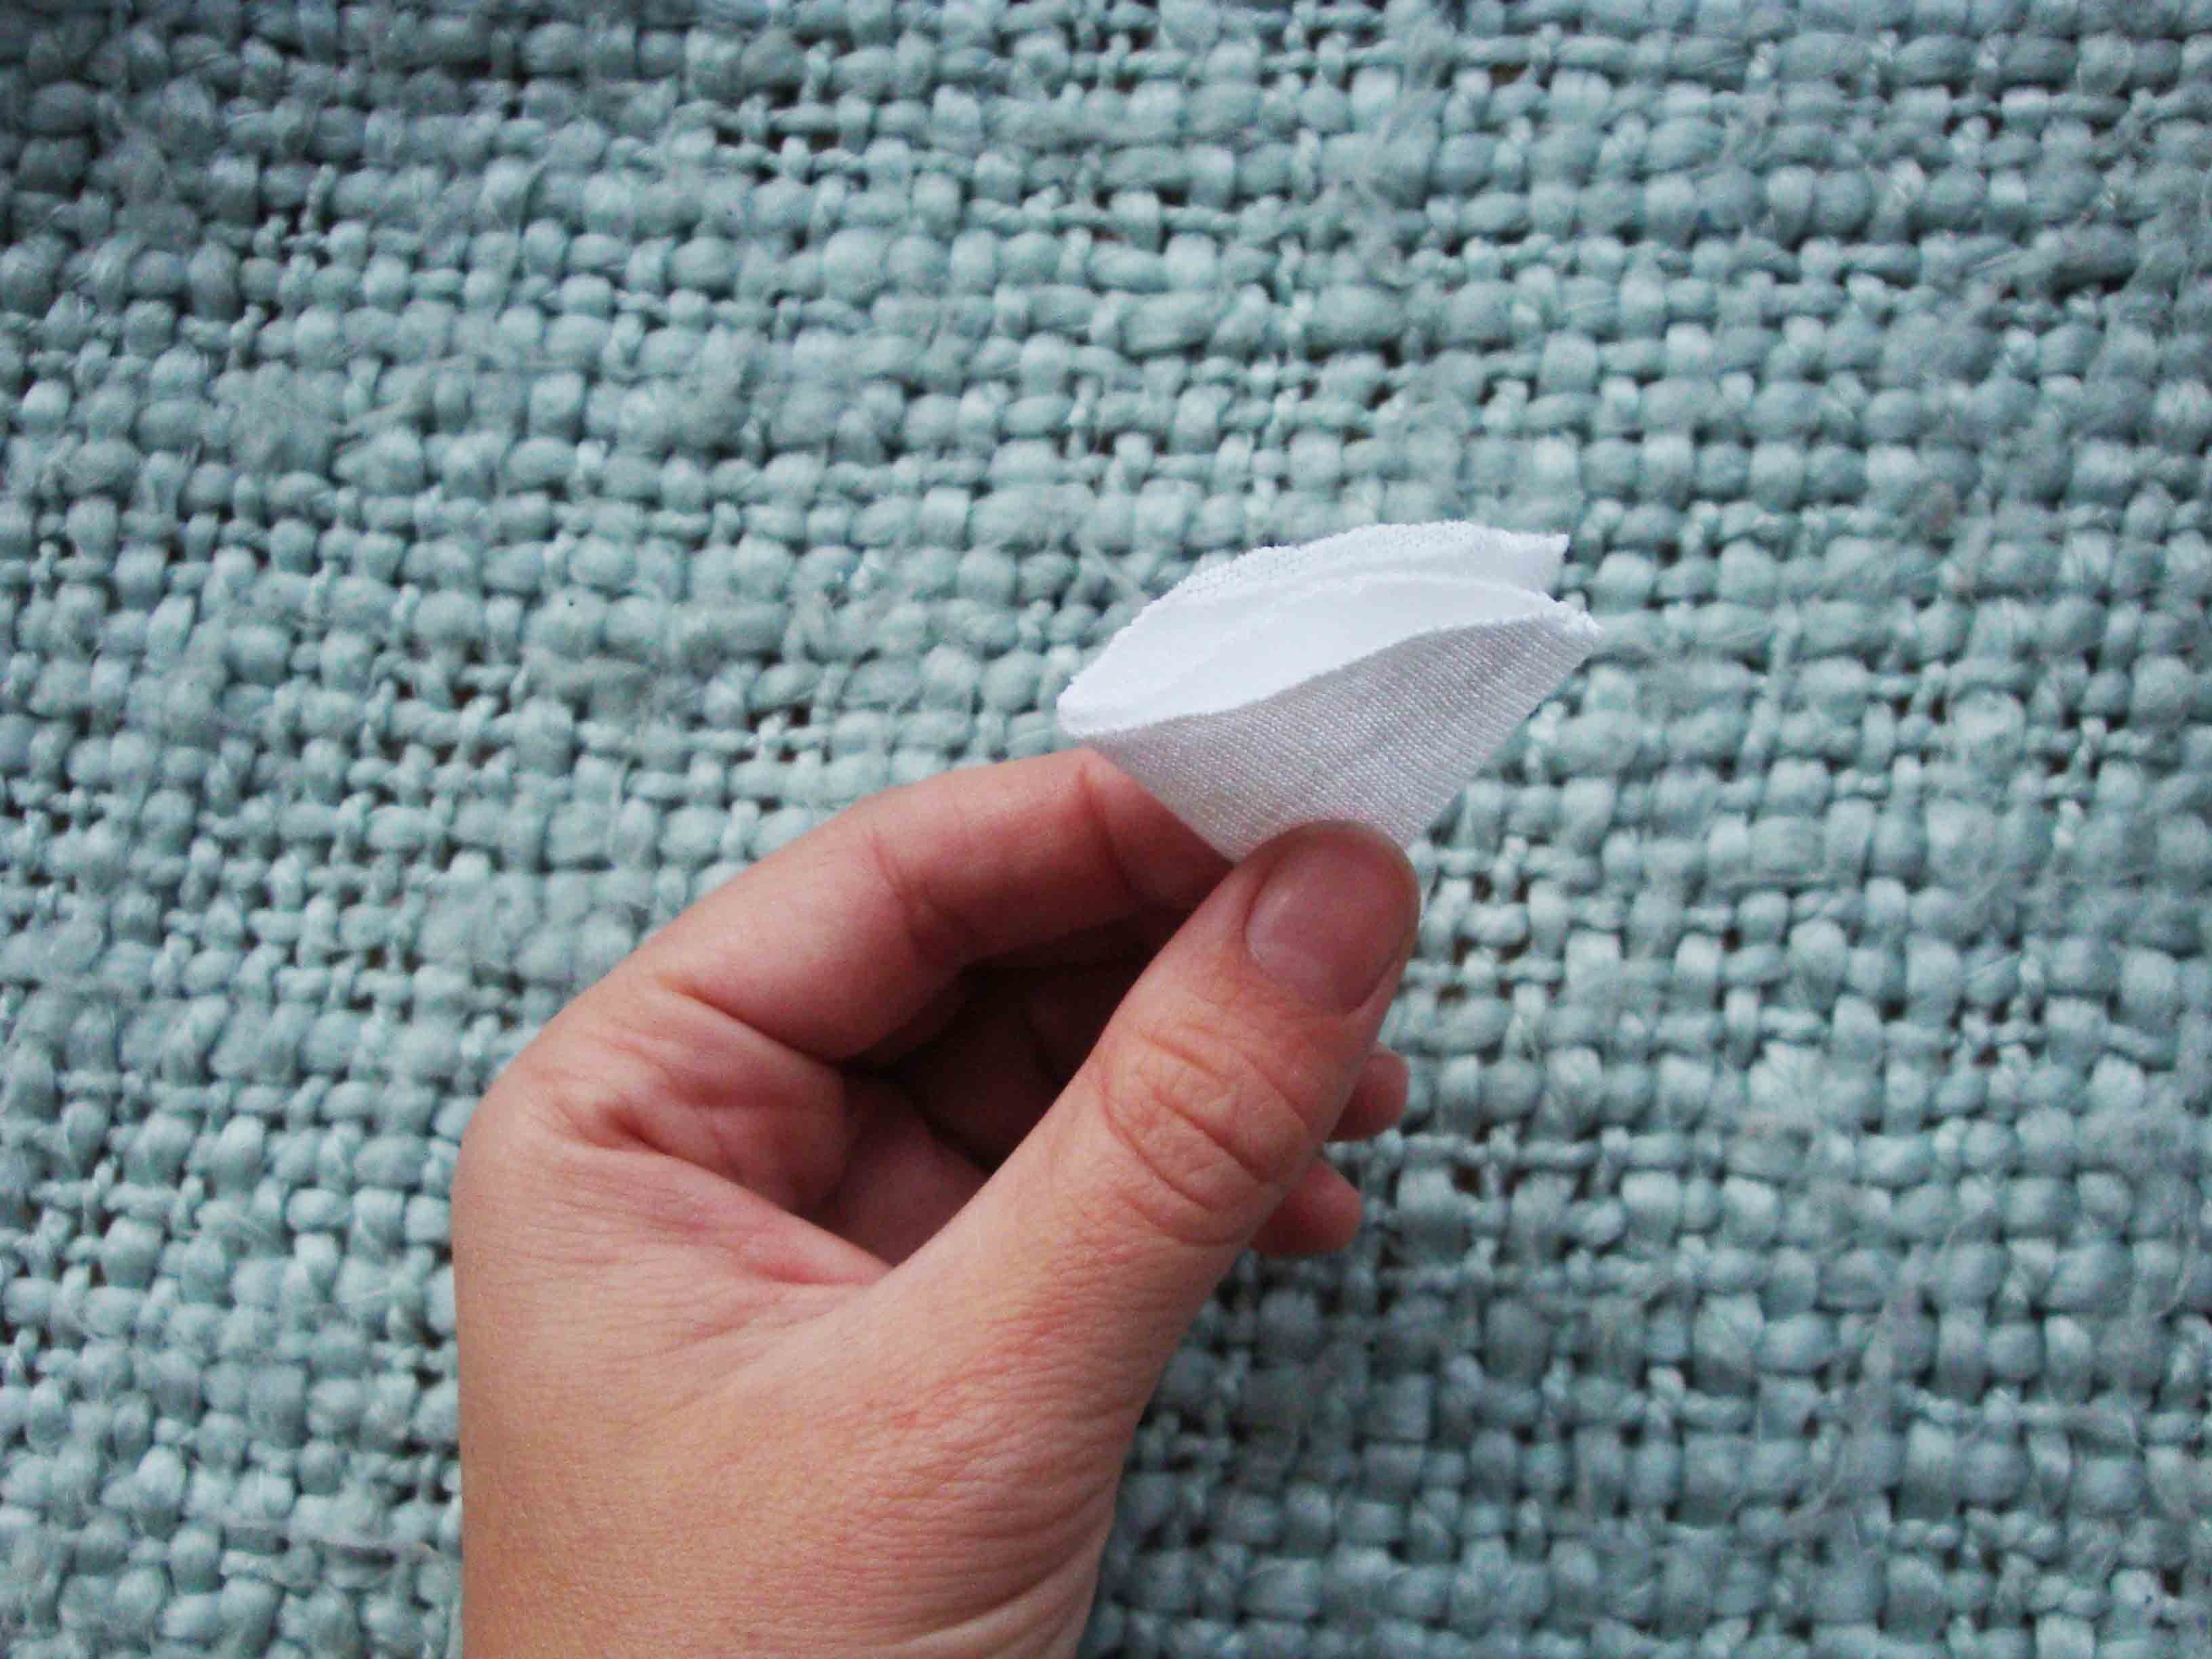 .4. fold it in half again!
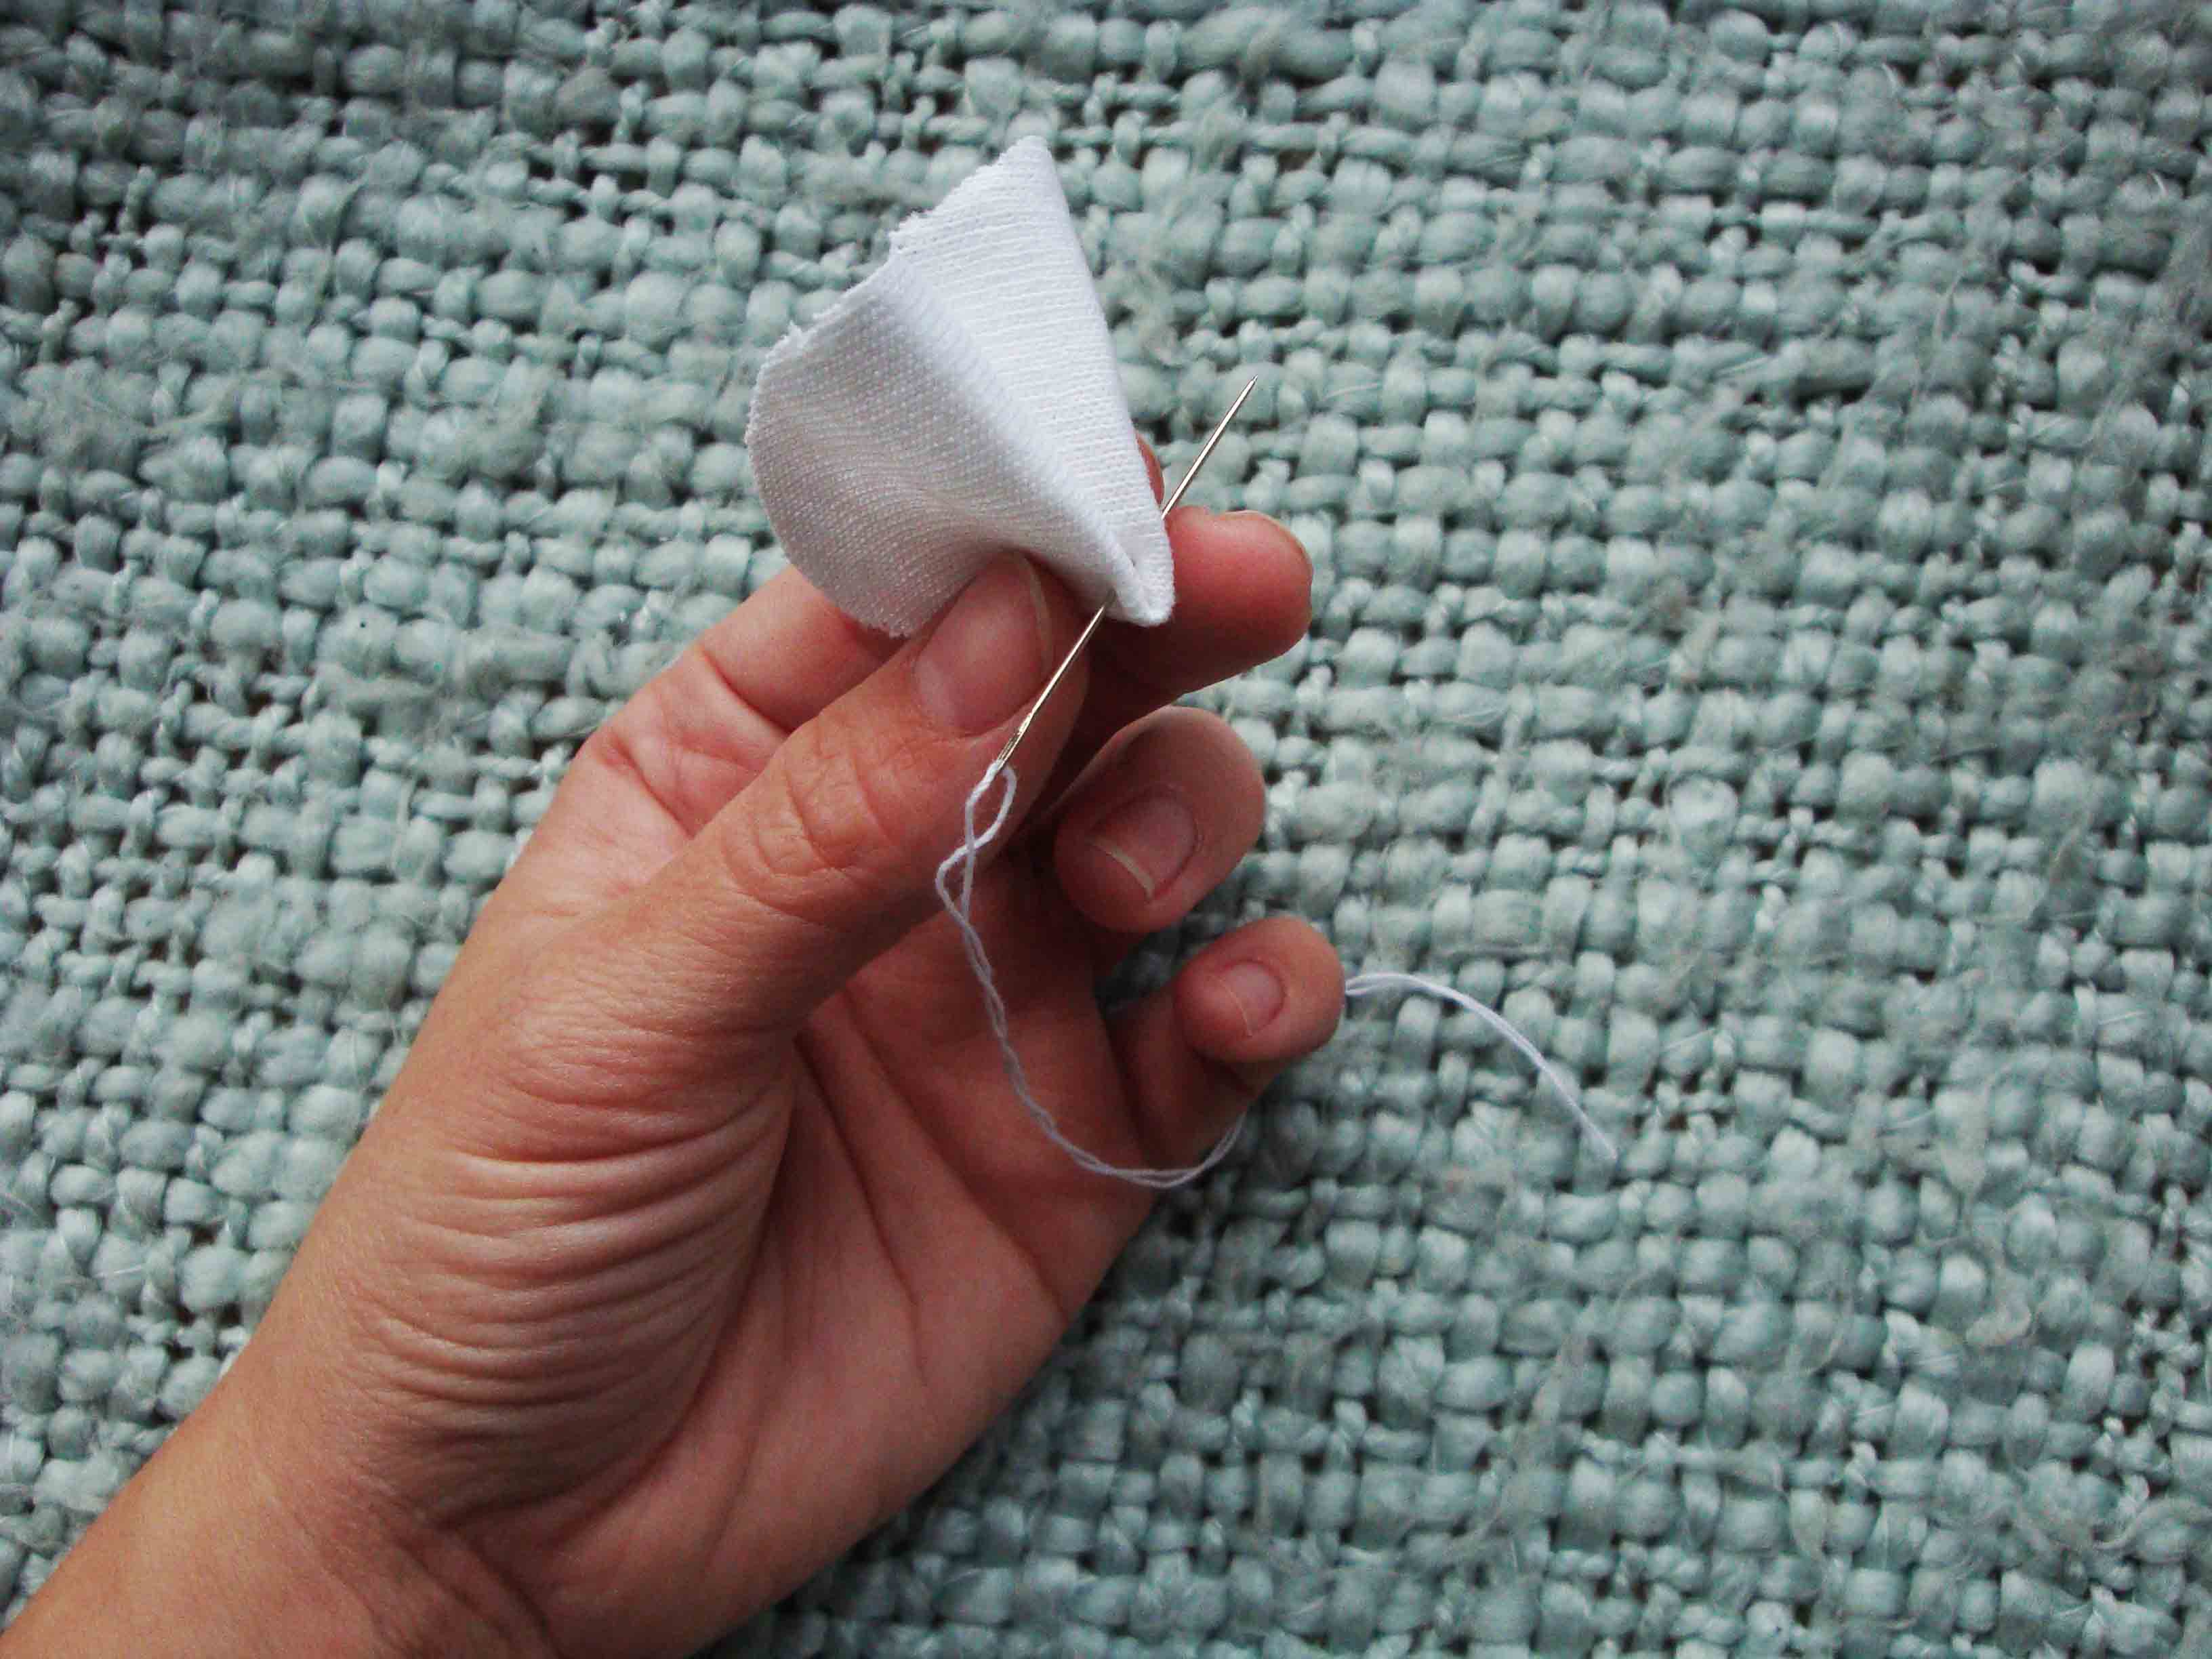 .5. stitch the bottom of your flower together like so, and tie a small knot when you’re done. (I only used 2-3 stitches each time; and ideally, your thread should match the colour of your fabric)
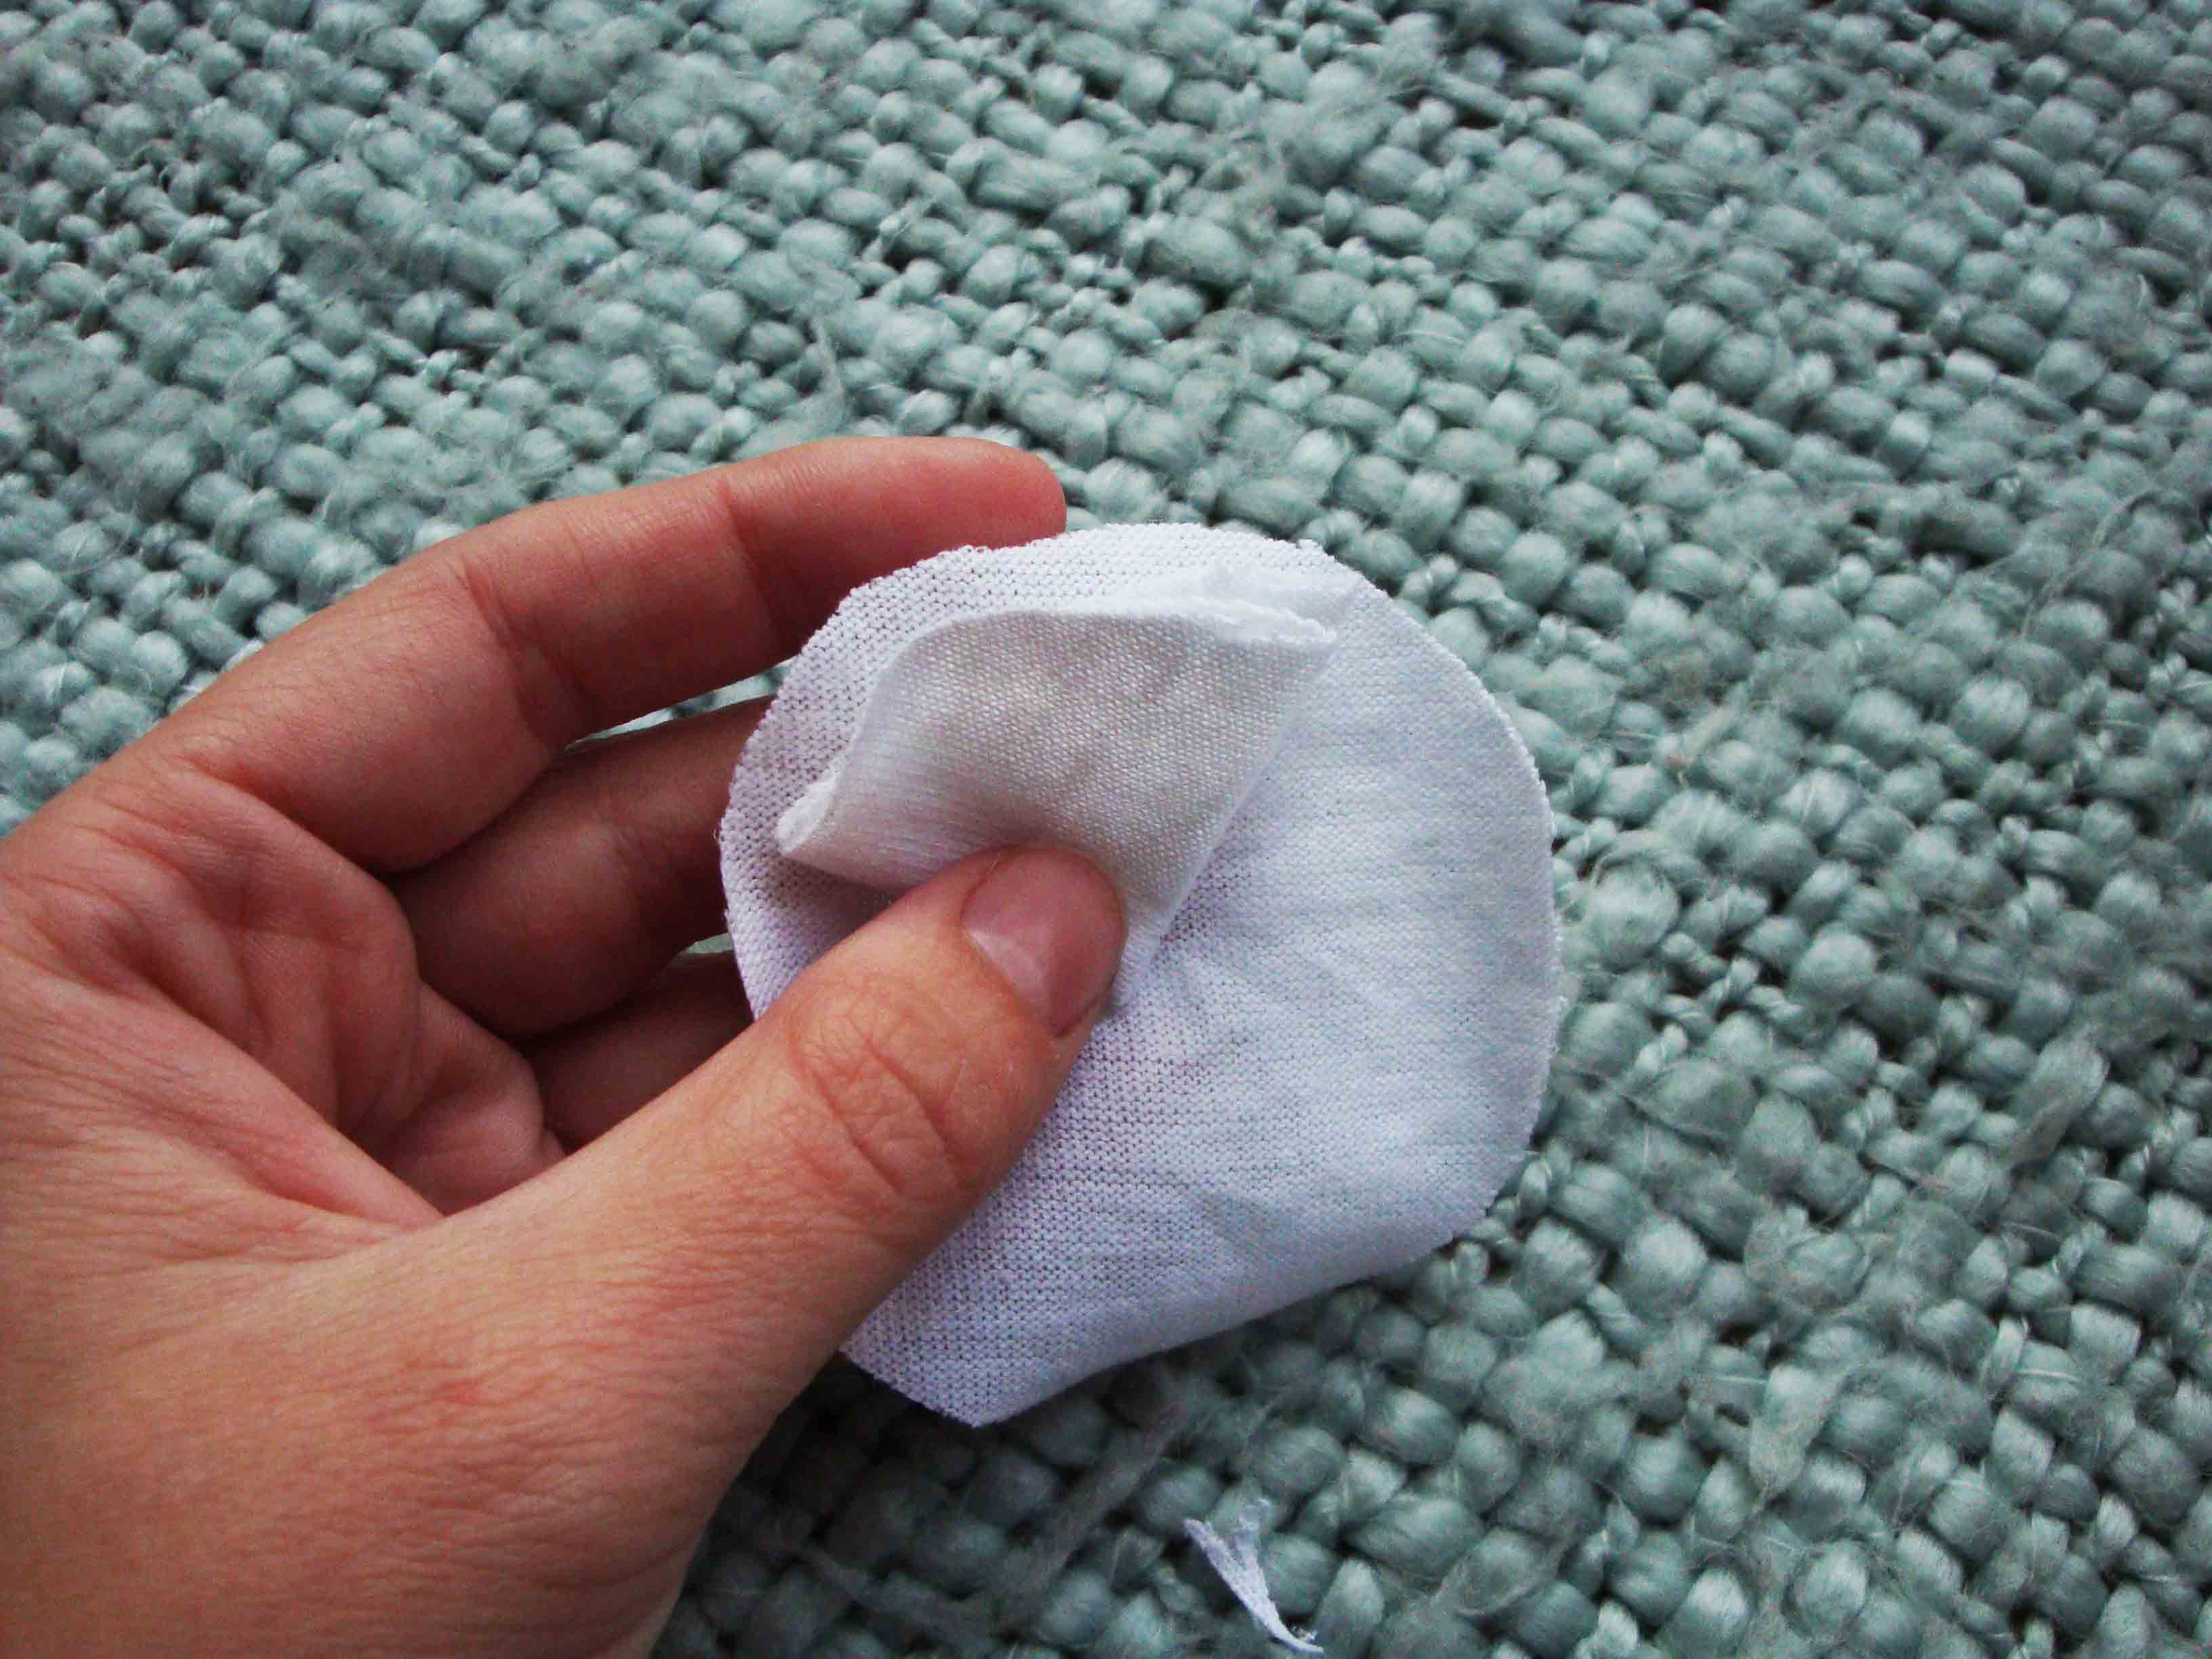 .6. grab your second circle
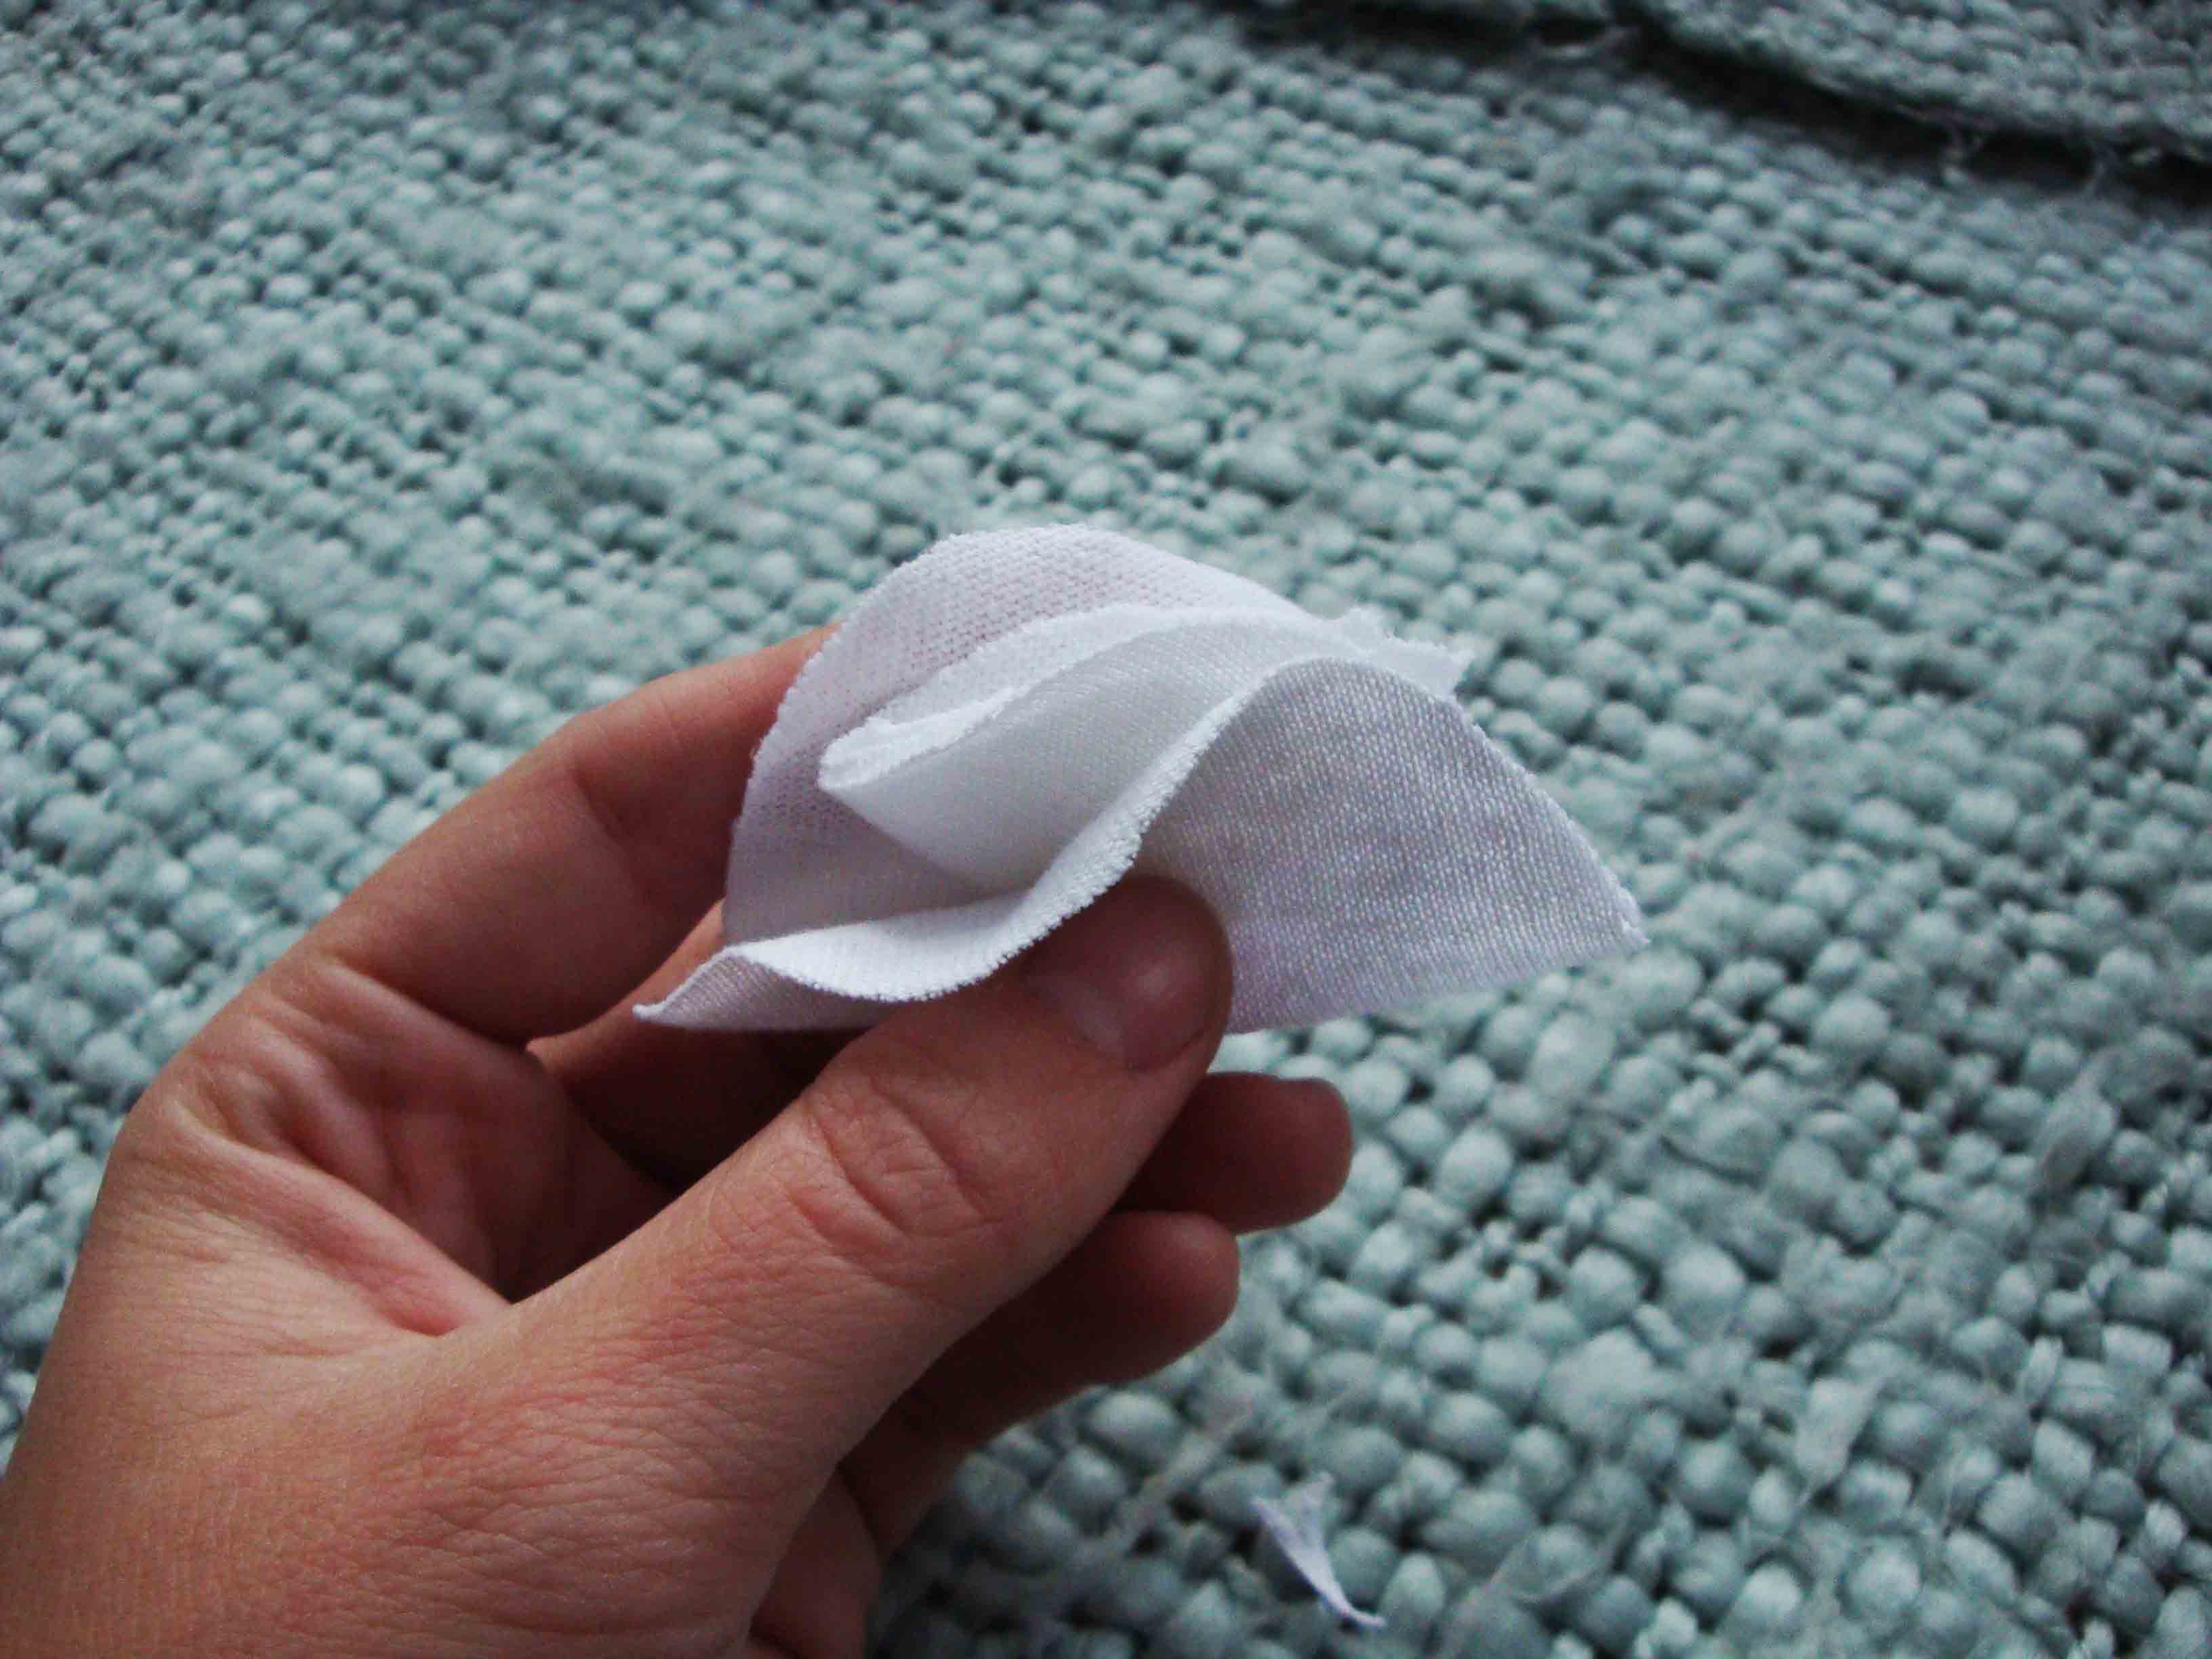 .7. fold it in half overtop your first stitched circle
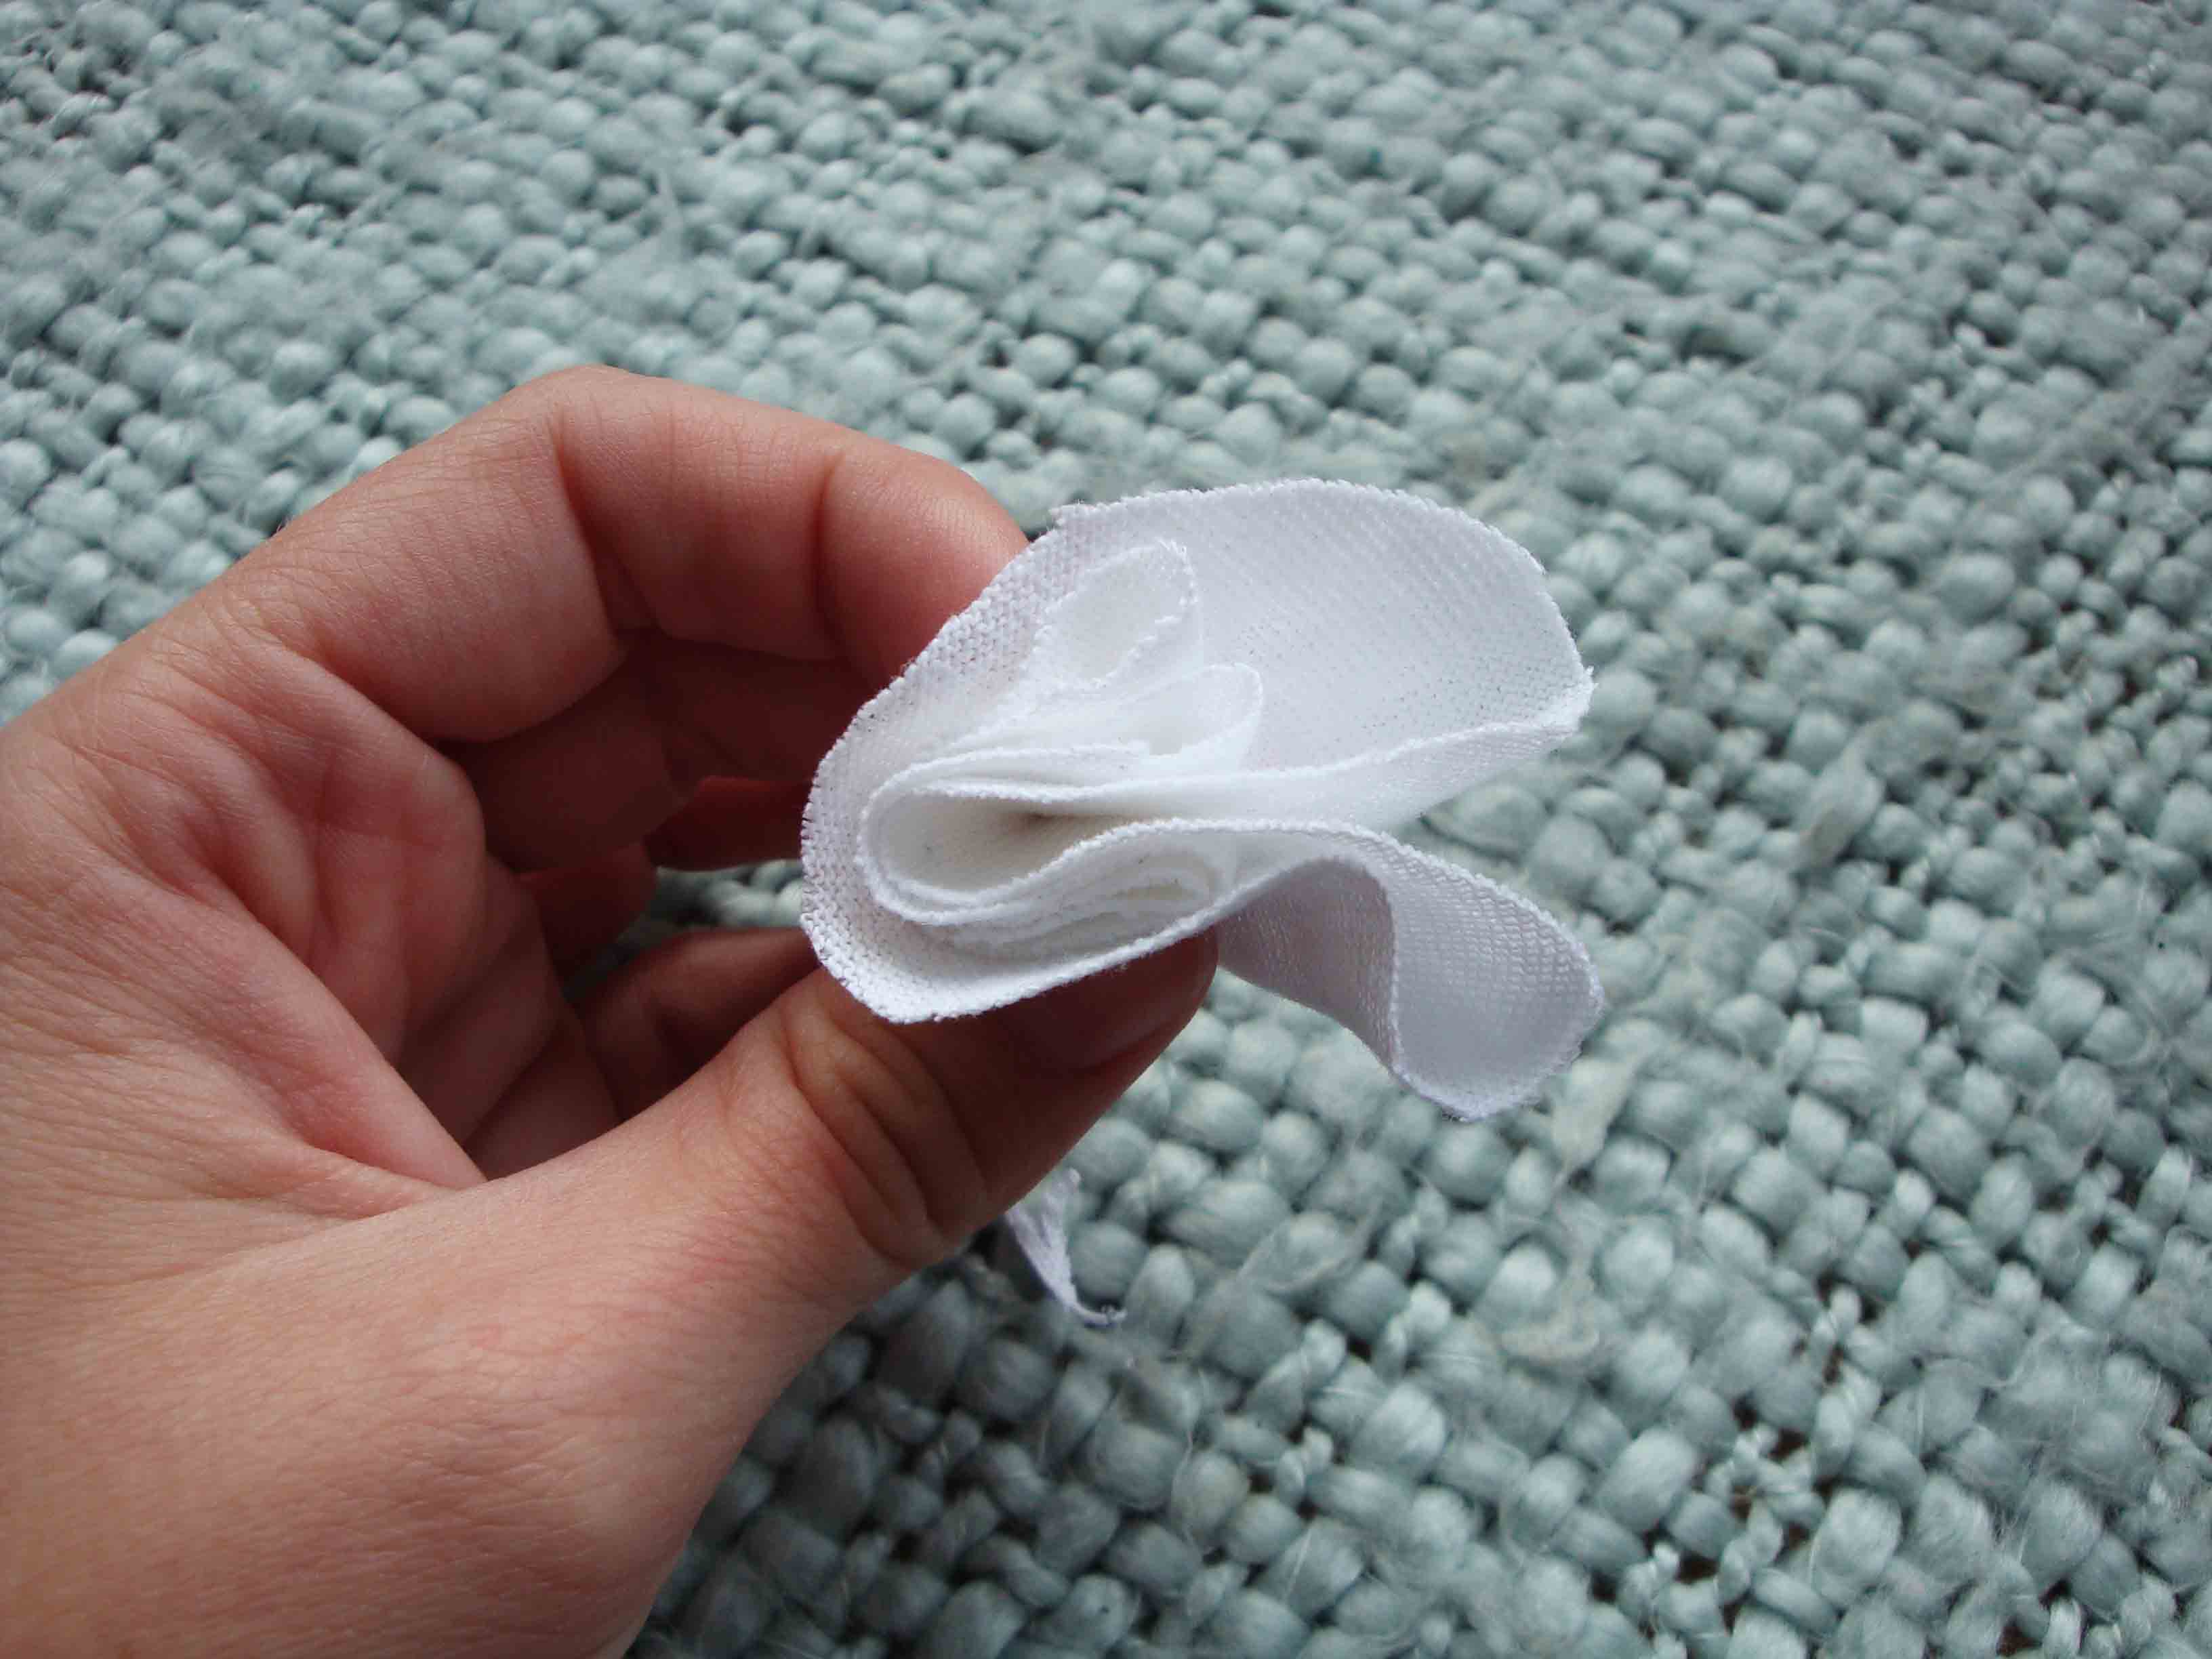 .8. fold it again!
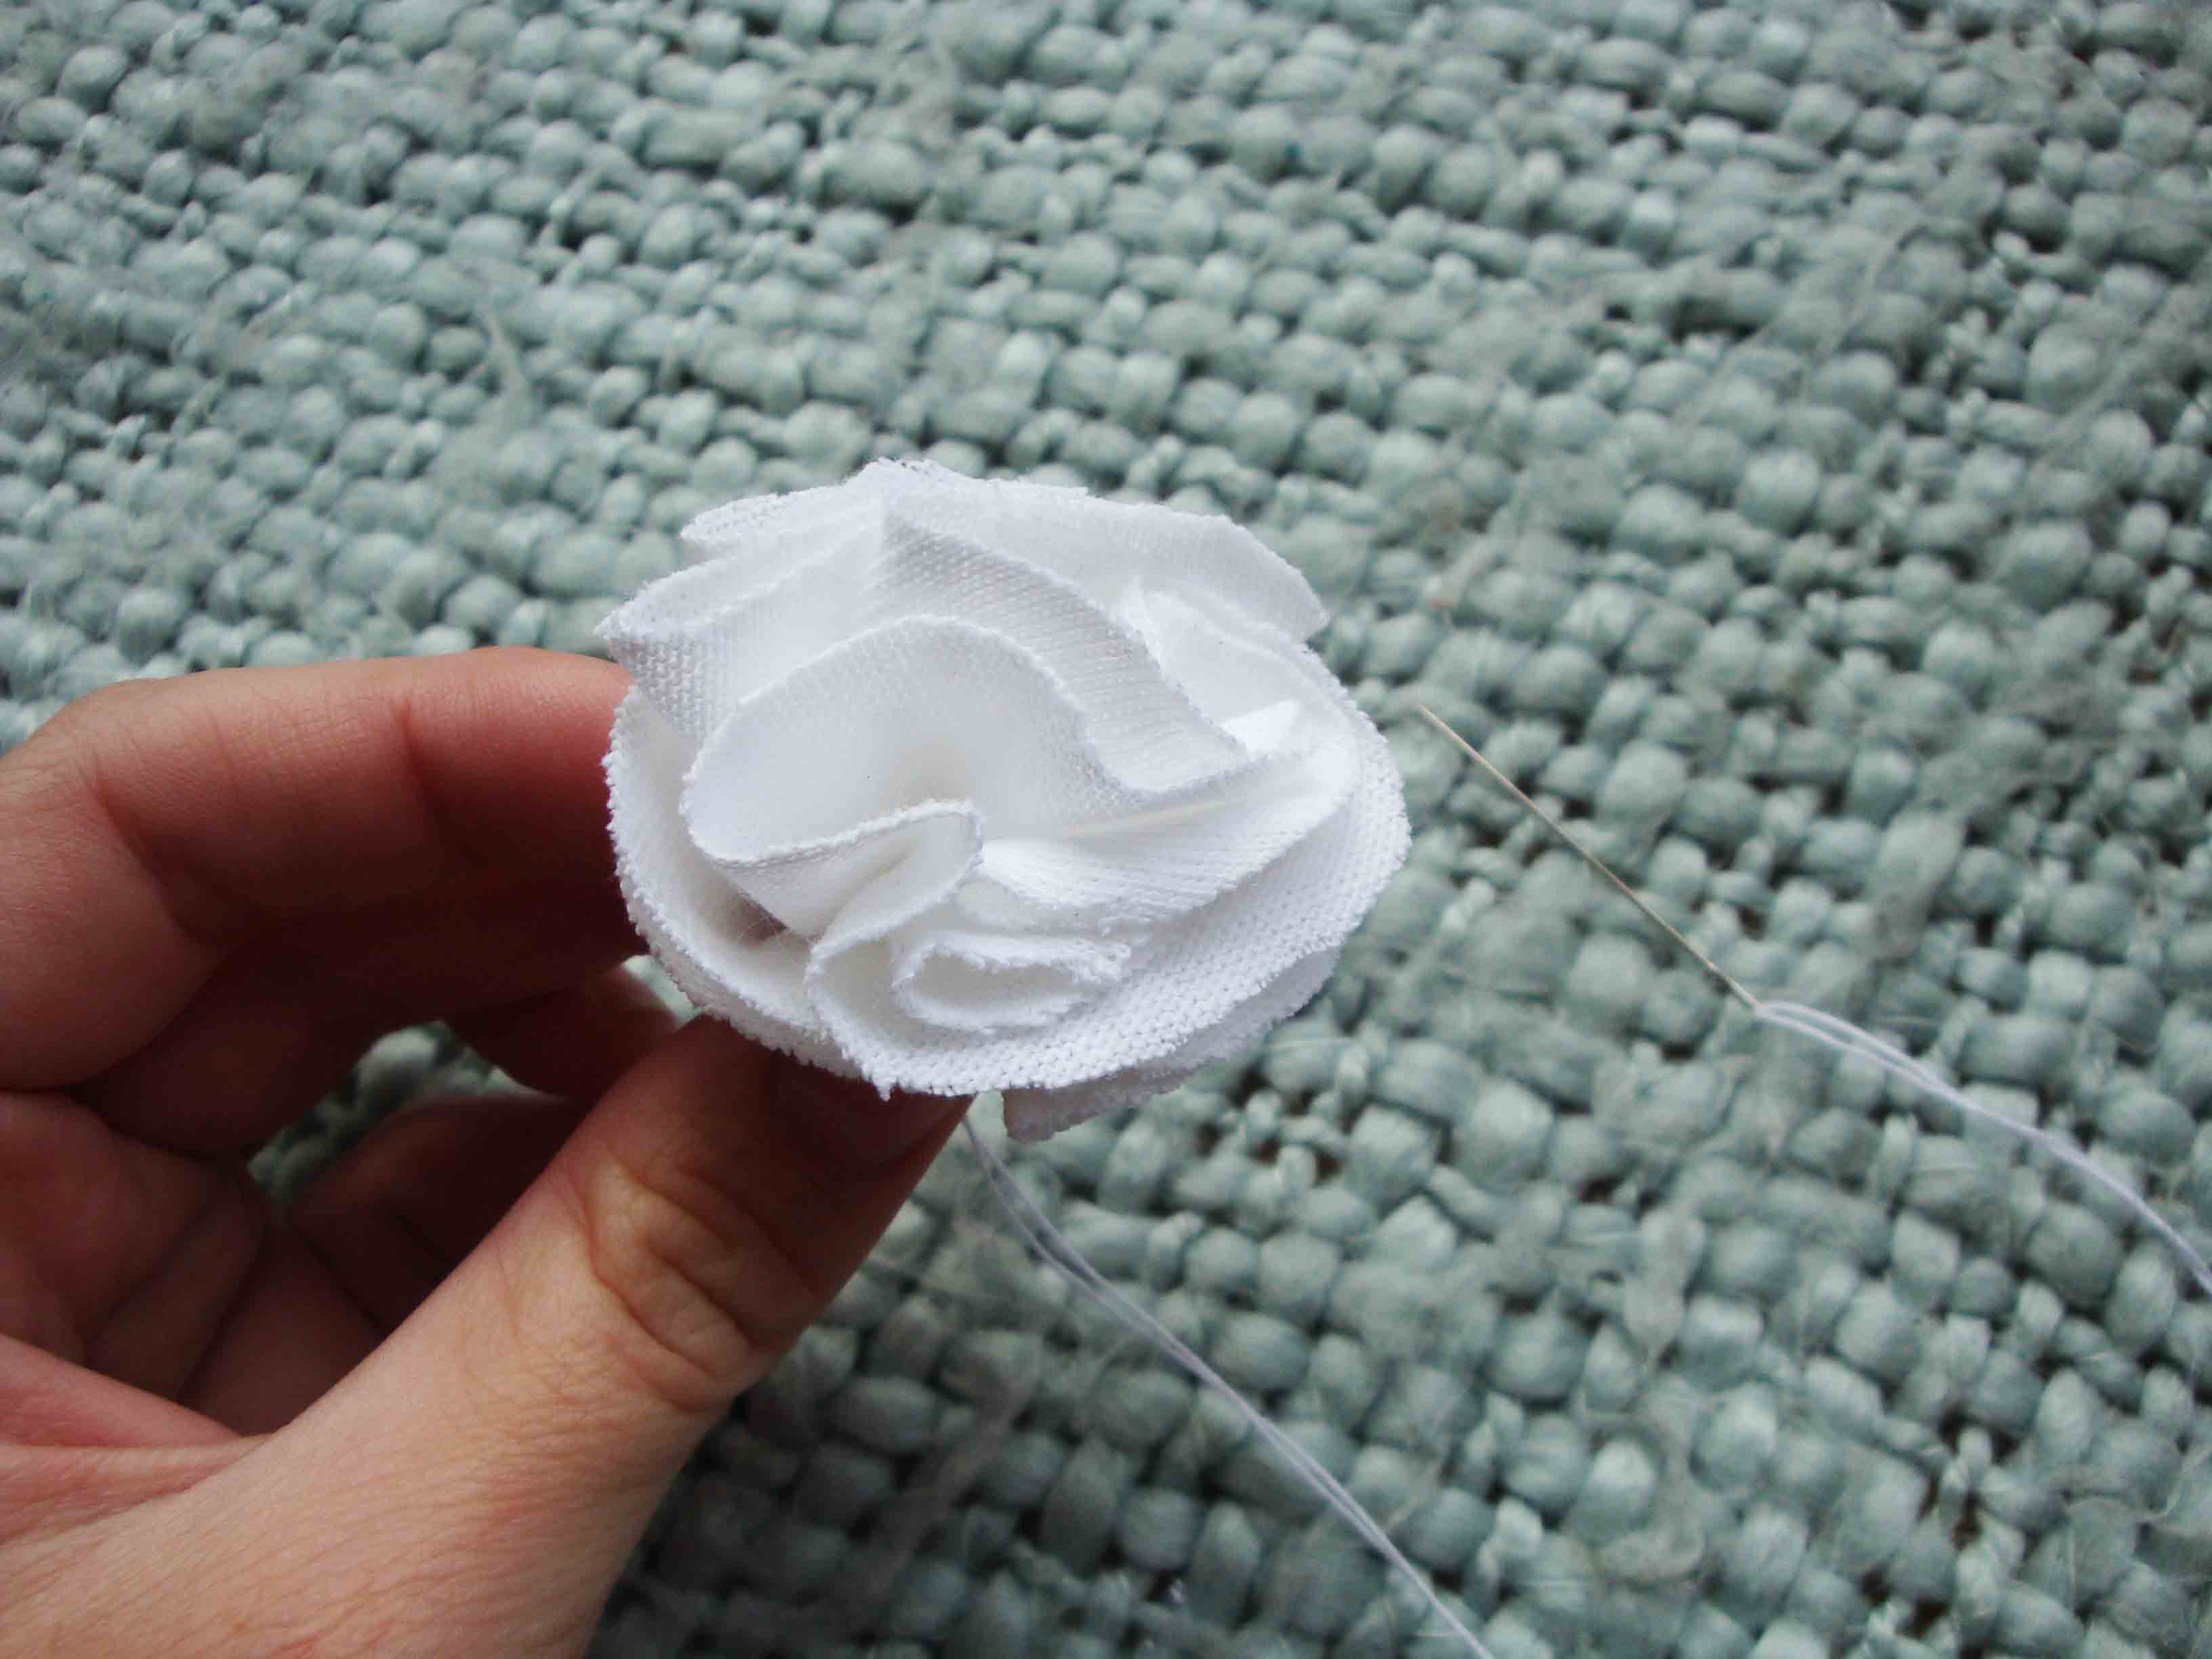 .9. stitch the bottoms together
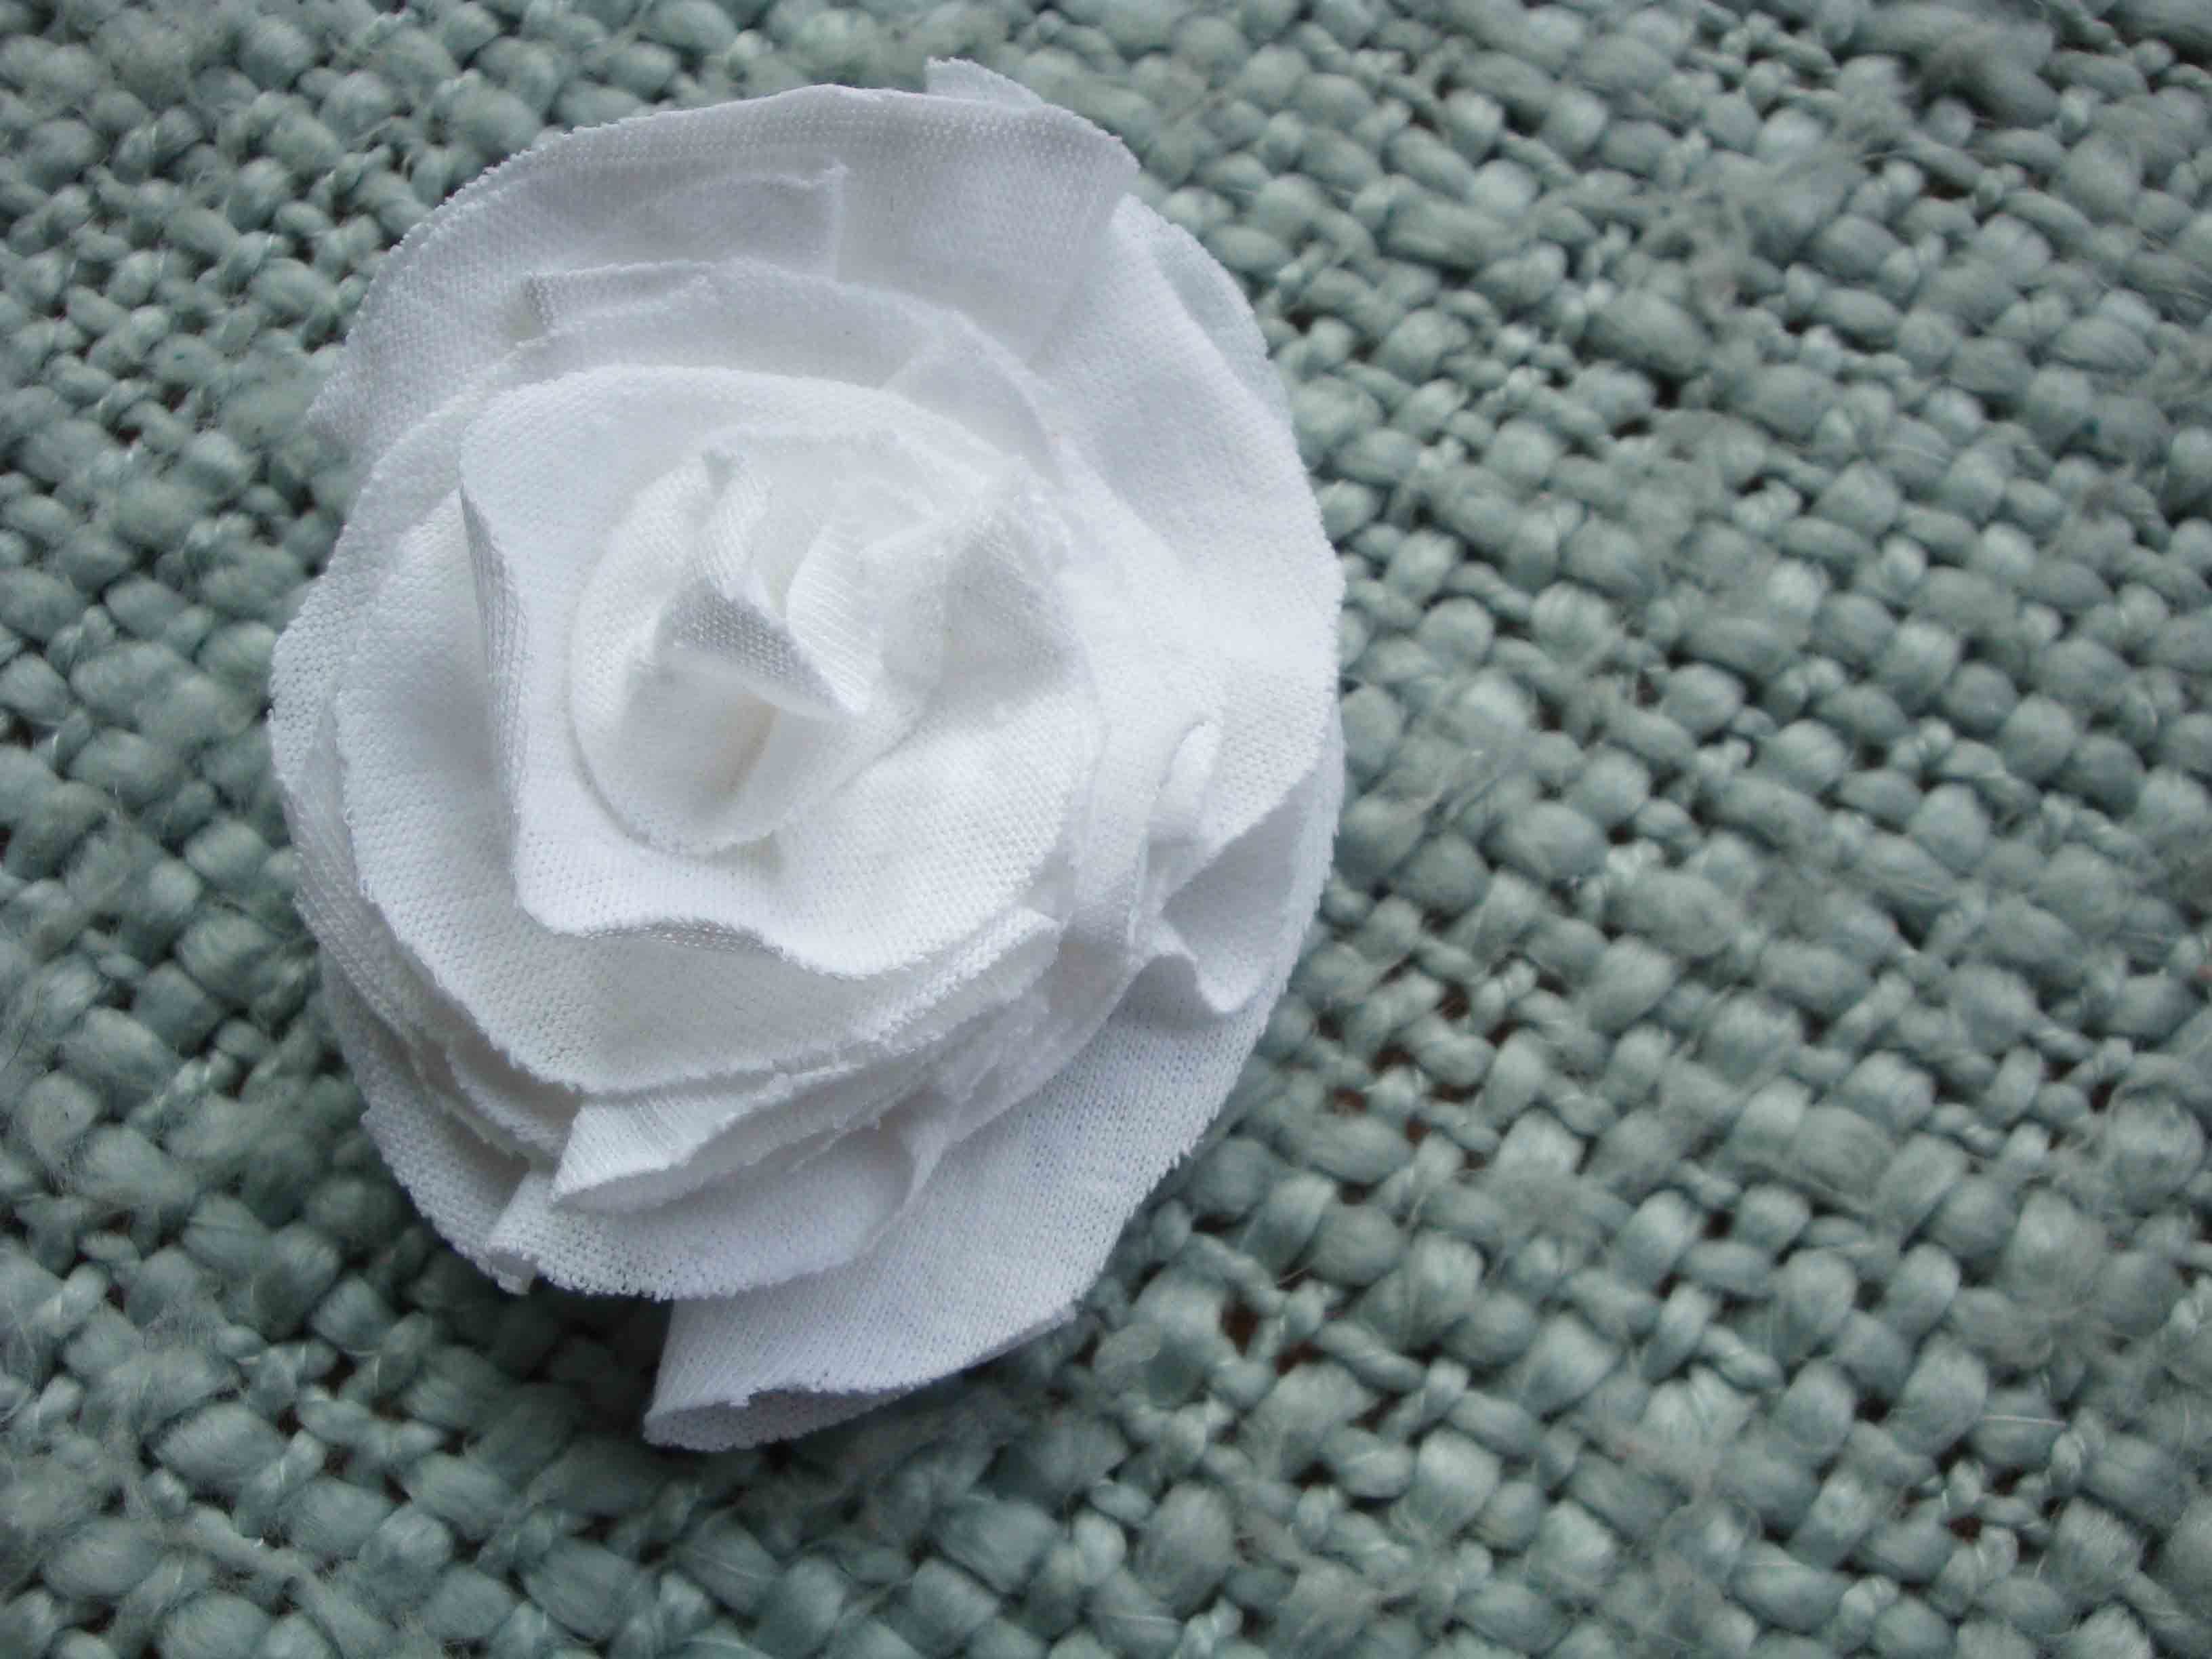 .10. and repeat steps 6 through 9 and again and again, until you run out of circles, or your flower is to the size you desire
.11. when you’re satisfied, hot glue a small clip or bobby pin to the base of the flower, ruffle or re-arrange your petals until they’re to your liking and enjoy!
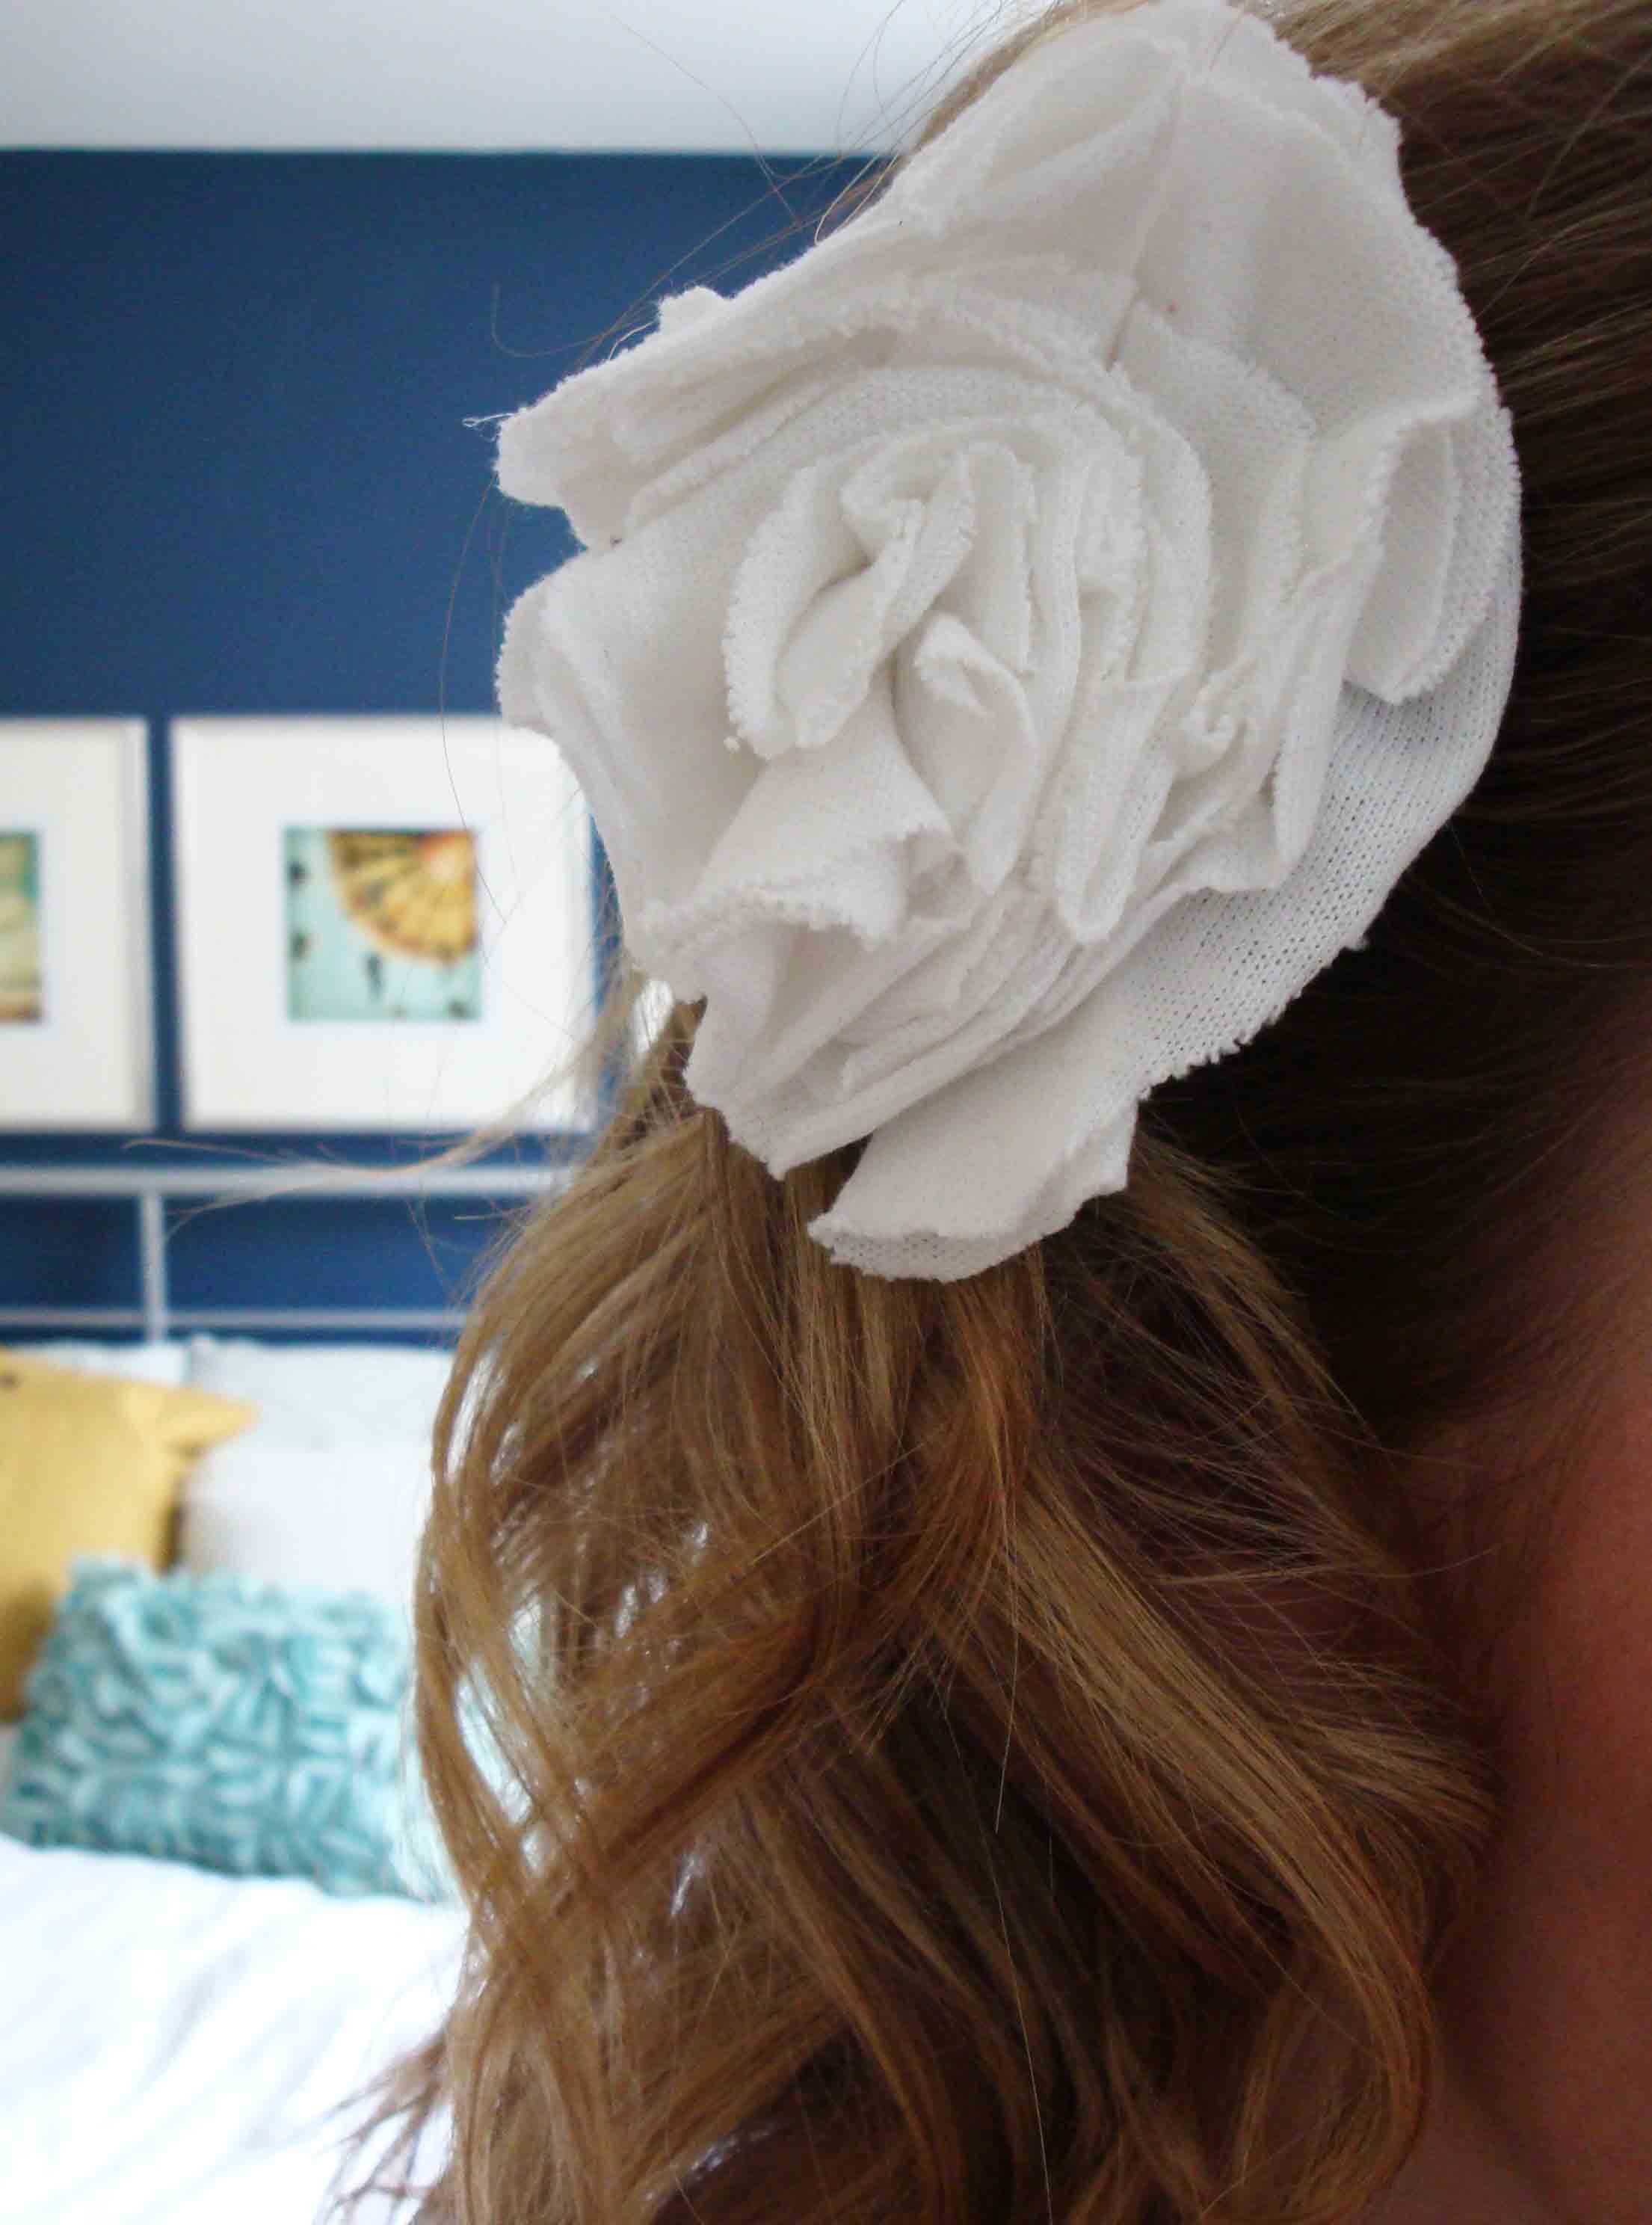
Additional note: you could also hot glue a safety-pin to the bum of your flower and wear it as a broach
And all of this for a grand total of… $1.25. (for the t-shirt). Take that all you “dewy” plastic flowers.
filed in /


