


 While I’m admittedly not much of a DIY’er, I do like to think of myself as crafty, and every once in a while the urge strikes me to get in there and get a little messy. One morning some time ago, I happened to find myself perusing the aisles in Michael’s when I stumbled across these simple wooden beads. Not entirely certain what I’d make of them, I grabbed them, some leather string, and a few other bits and baubles and made my way home. After toying around with the pieces upon my return I quickly realized that I could create a DIY coaster, or trivet, in just a few minutes, and it would be significantly more chic than the 99 cent cork one from Ikea I’ve been using for years.
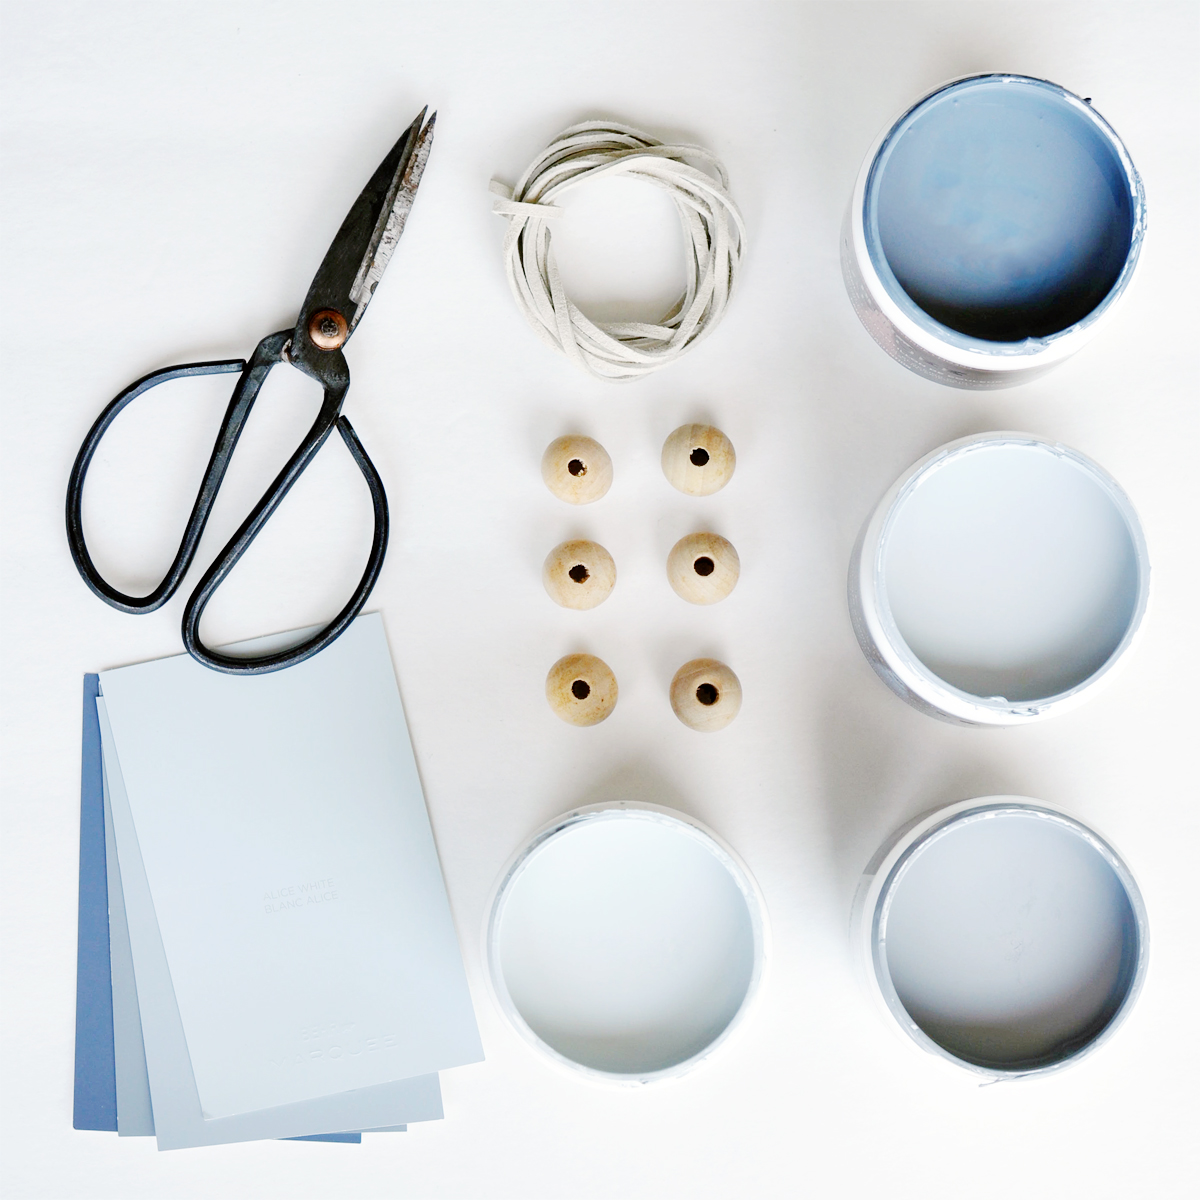


WHAT YOU’LL NEED
Wooden beads (I picked mine up at Michael’s)
Paint, in any colour of your chosing (I used BEHR Marquee since it legit only takes one coat)
Leather string
WHAT YOU’LL DO
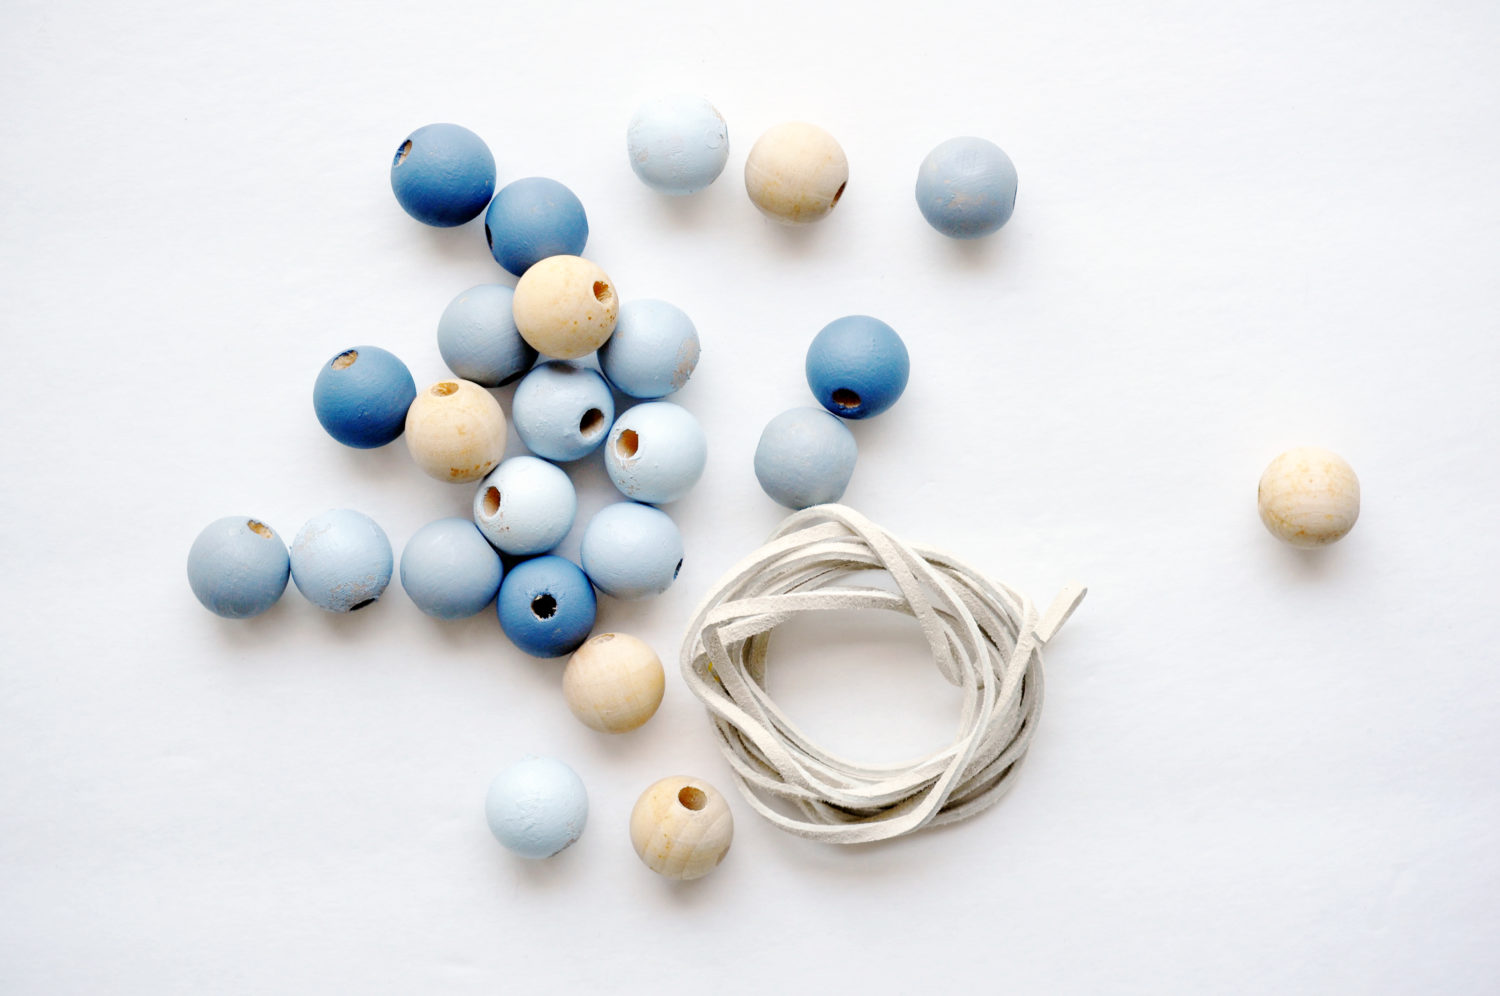
1:: Paint your beads in the colours of your choosing and let them dry.
2:: Cut your leather string to about 10″ in length for a coaster, or 18″ in length for a trivet. You’ll need about 19 large beads for a coaster, and about 30 for a trivet.
3:: Tie a knot at the end of your leather string and add the beads one at a time, in a random pattern. Once you have about 2″ left of string, tie it leaving a loop that’s just large enough to wrap itself over a bead securely.
4:: To use, wrap the string of beads in on itself (like a coil) and wrap the loop of rope over a bead to secure. When not in use, it looks especially cute hanging on a little hook in the kitchen.
filed in /


