


If you’re new to my mom’s kitchen renovation series of posts, you might want to start here!
{we’re so close to completion! but let’s take a look back…}

I have to admit, with my upcoming due date and thus a pretty limited timeline, we tackled the construction of my mom’s kitchen in a bit of a unique fashion, and it almost led to instant regret! Despite 13 years as an interior designer overseeing countless projects of all shapes and sizes, mistakes do happen, and I thought it might be helpful to share a bit more of how this particular construction project went down (which includes the real reason it’s moving along so quickly, and where things almost went totally awry).
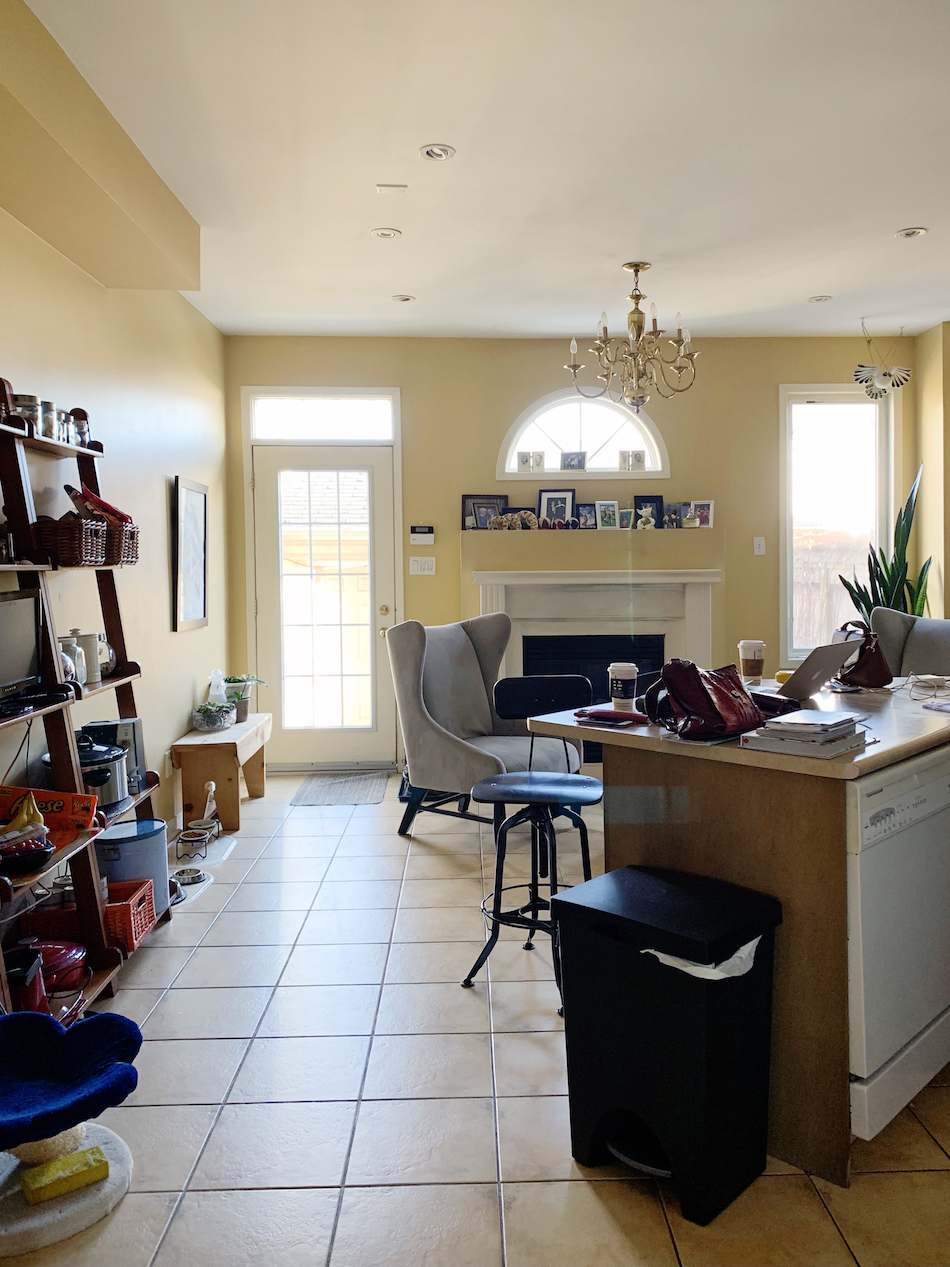
{the “before” shot}
Let’s jump backwards for a second. Typically when I’m overseeing a renovation, I have a very particular set of steps that I follow each and every time to ensure a project goes off as seamlessly as possible. I’m definitely of the belief that you should take the time to do it right from the beginning. Lay that foundation, and tackle a project in logical steps, or risk a whole lot of potential additional headaches. And because I was originally trained in corporate and hospitality design, I tend to handle my residential projects very differently than a lot of my peers. I mean, I’m not saying that my process is the only way to do it, but I’ve really honed in on it over the years and it works.
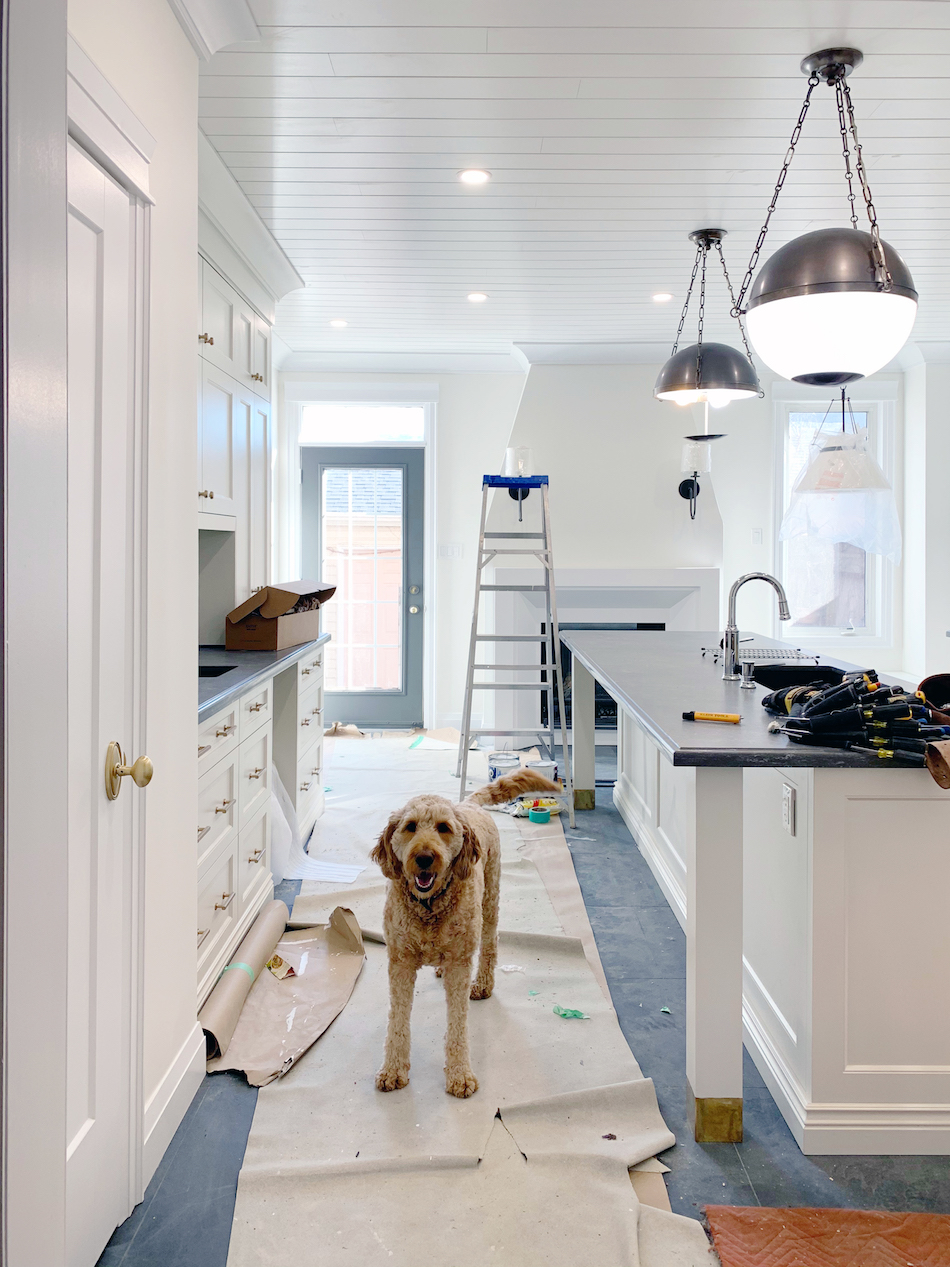
{demo day}
My process, at least when it comes to a kitchen redesign, is as follows. I typically have the space demolished and then built out according to the new designs, following detailed design, mechanical, and electrical drawings, complete with all of the plumbing and electrical roughed in.
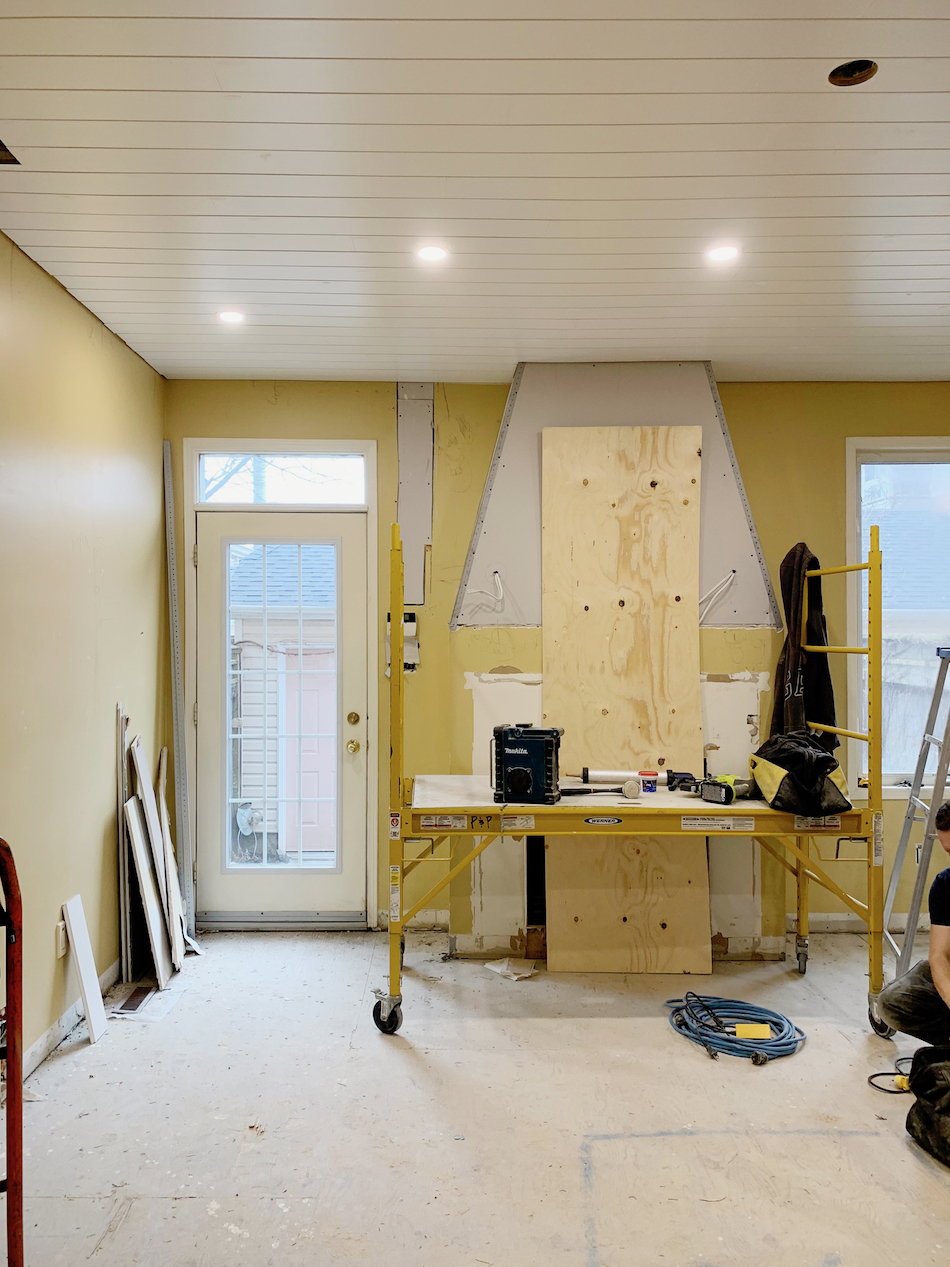
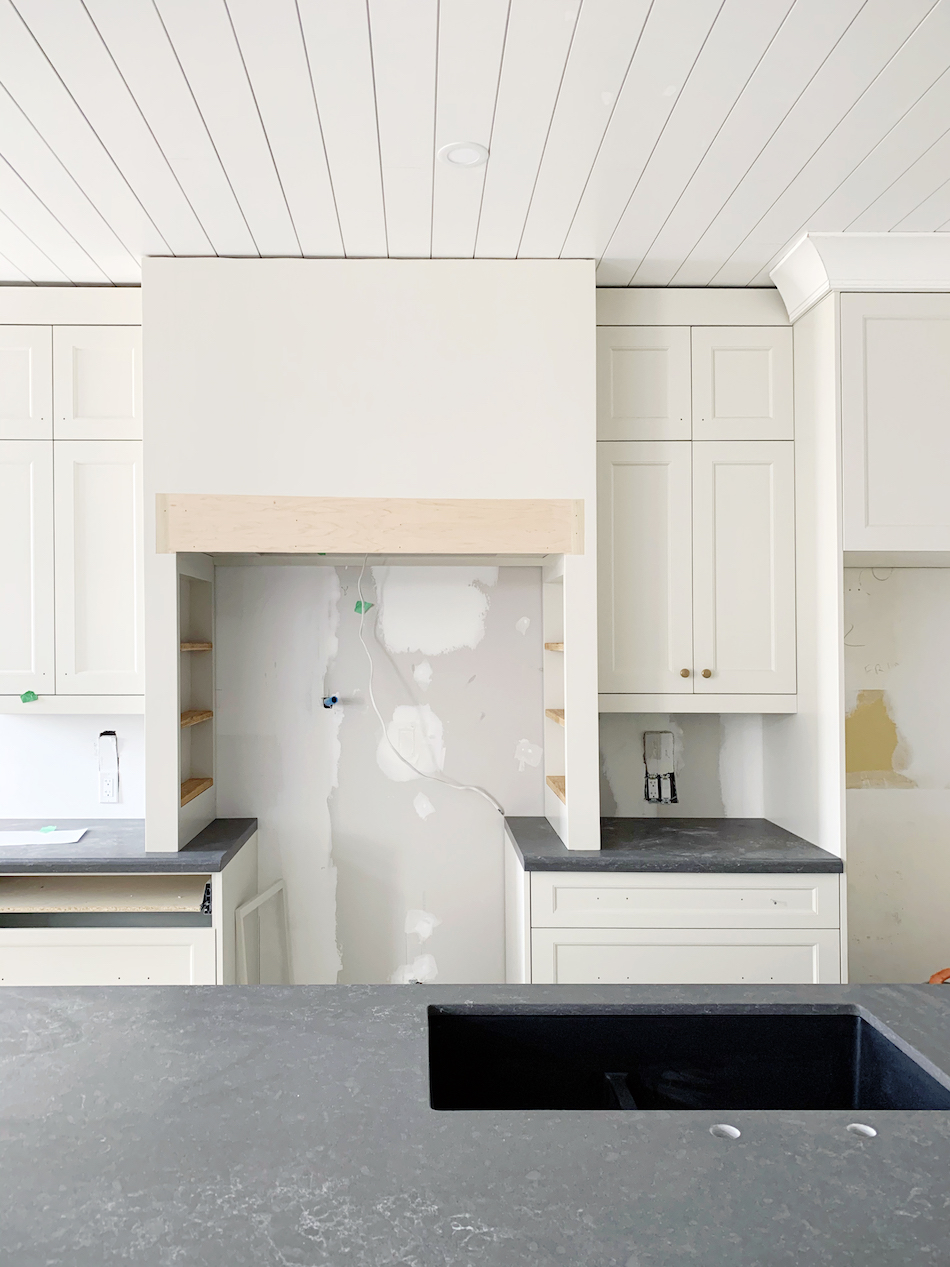
{new shiplap ceiling & fireplace build-out}
It’s only once we’ve reached that point in construction do I have the millworker come in to measure for all of the cabinets. From there, it’s usually about an 8-10 week lead time for the cabinets to be constructed, which gives us ample time to finish prepping the space in anticipation of their arrival. After that, things move pretty quickly. Countertops are templated and installed, the backsplash goes in, appliances arrive, lighting and finishing details are then applied, and you have yourself a beautiful finished space.
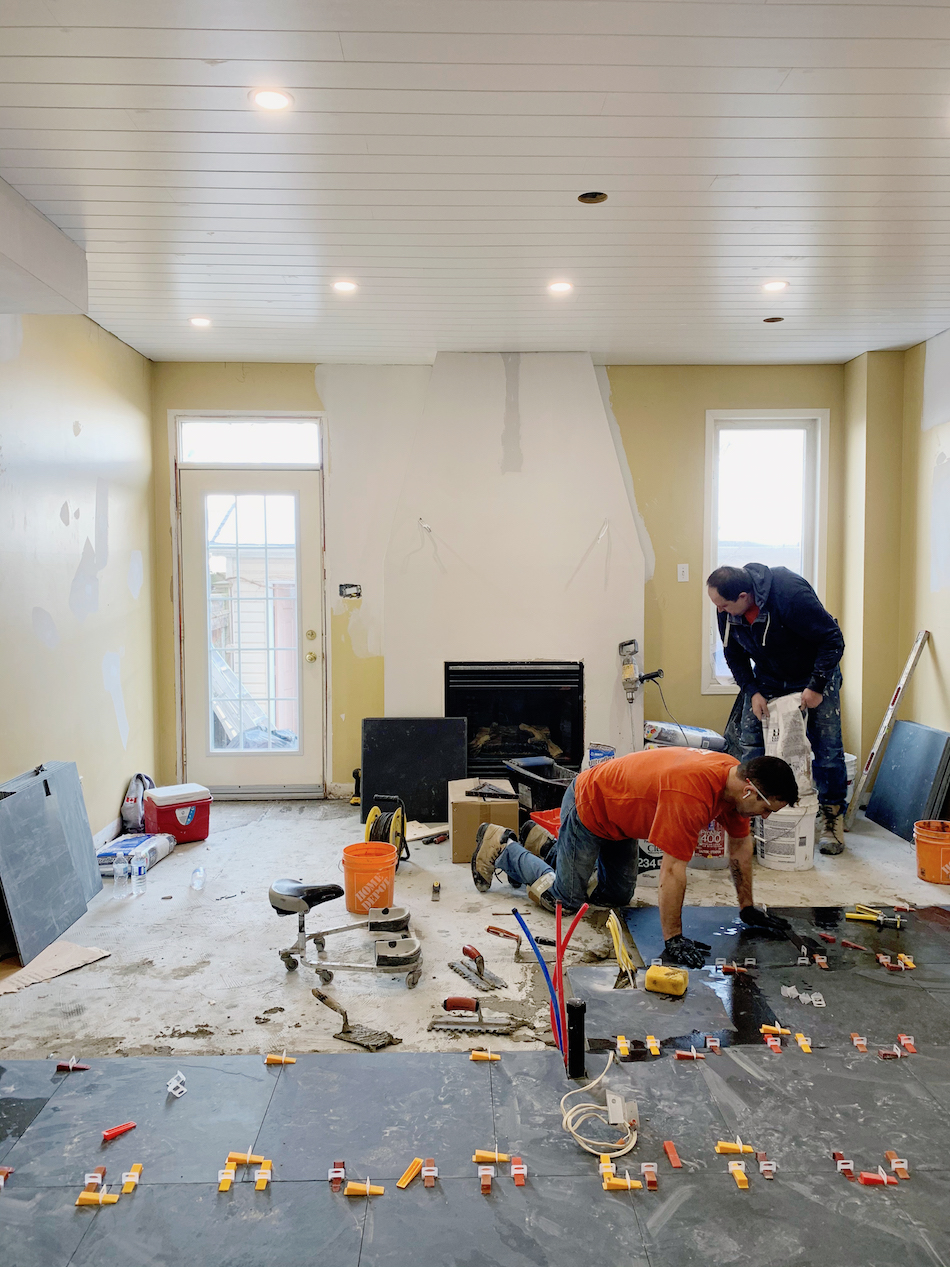
{flooring going in}
Because cabinets are one of the more expensive line items in a kitchen renovation, I always want to ensure that the space has been fully built out before they come in to measure for them so that you can avoid any potential disasters and unanticipated expenses tied to any changes. Because my mom is my client here, we weren’t really doing much in terms of demolition (you can read more about that here!), we did our due diligence as much as we could, and I knew that she wouldn’t sue me (ha!) if things went awry, we definitely did things a little bit backwards to speed up the timelines. I have to admit, it made me incredibly nervous from the start, and alas those nerves were almost justified when everything just about totally backfired on us early on…
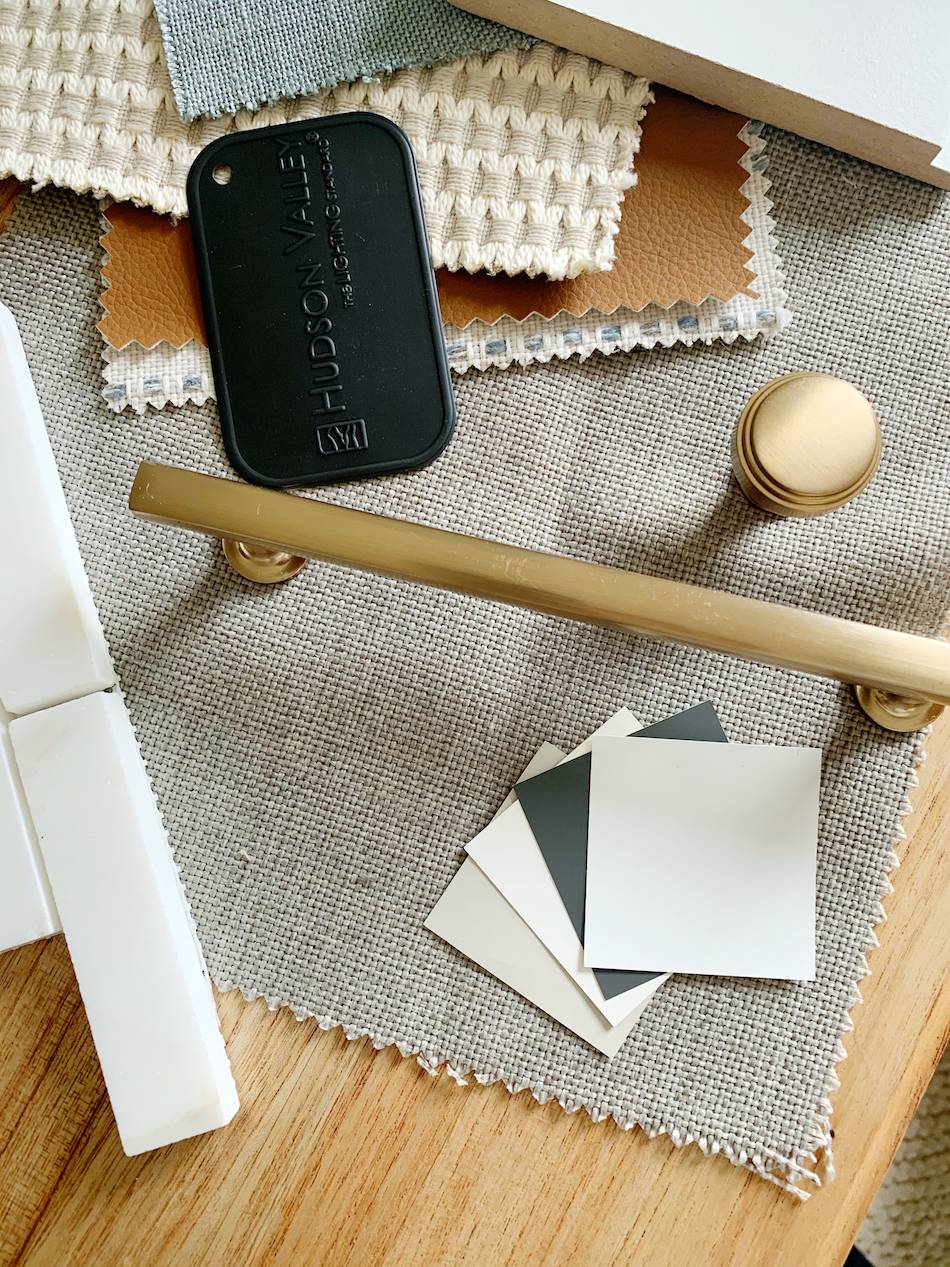
{finalizing paint colours}
In order to meet our (adorable) baby-shaped deadline, we had our cabinet maker, Scarlet Park, come in and measure for said cabinets back in November, well before construction even began. Despite doing our aforementioned due diligence and punching holes in all of the bulkheads and the nib wall that I wanted to remove to ensure it was possible to do so, we still ran into a pretty major hiccup once construction was actually in motion come January.
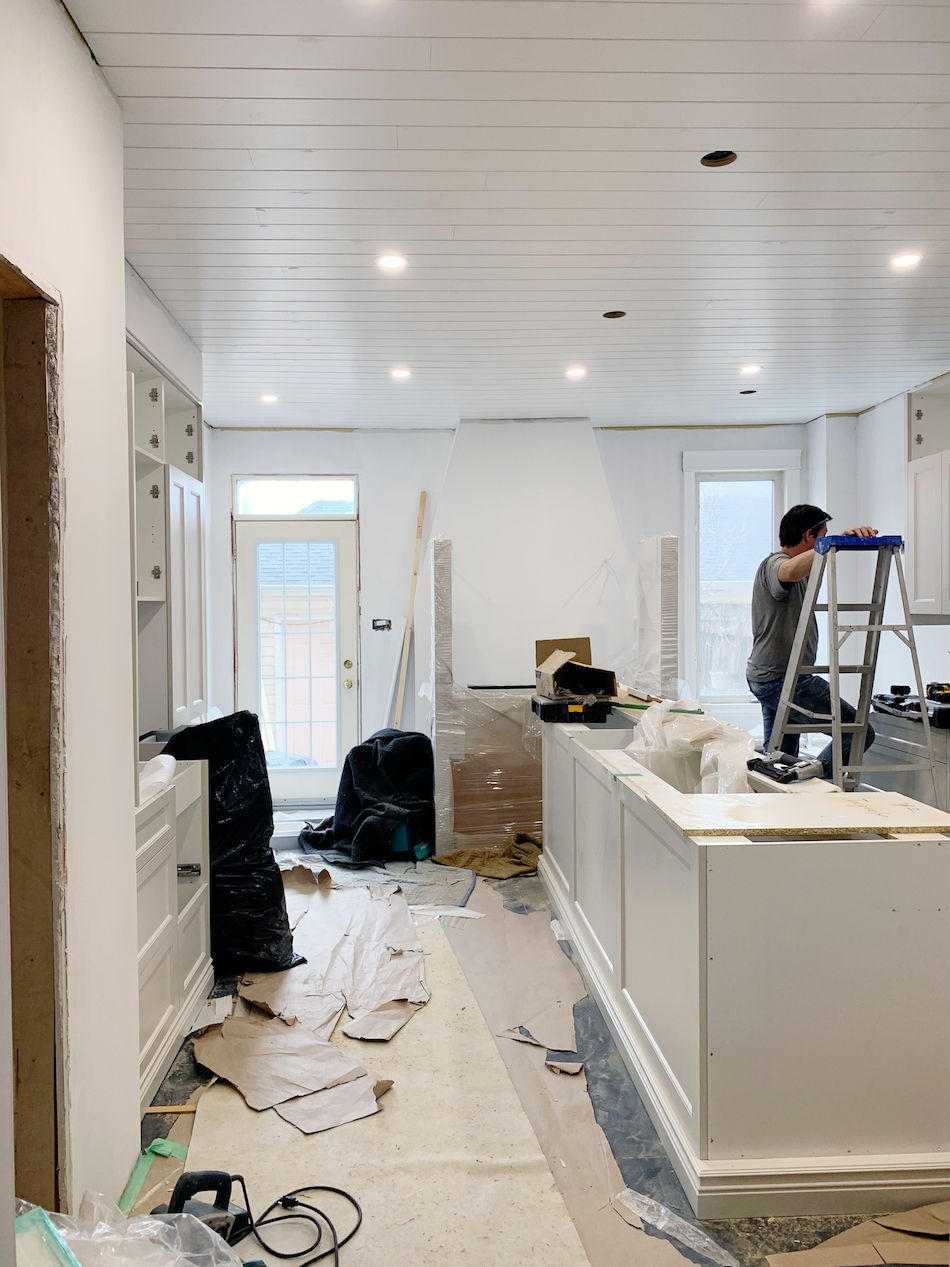
{cabinets being installed}
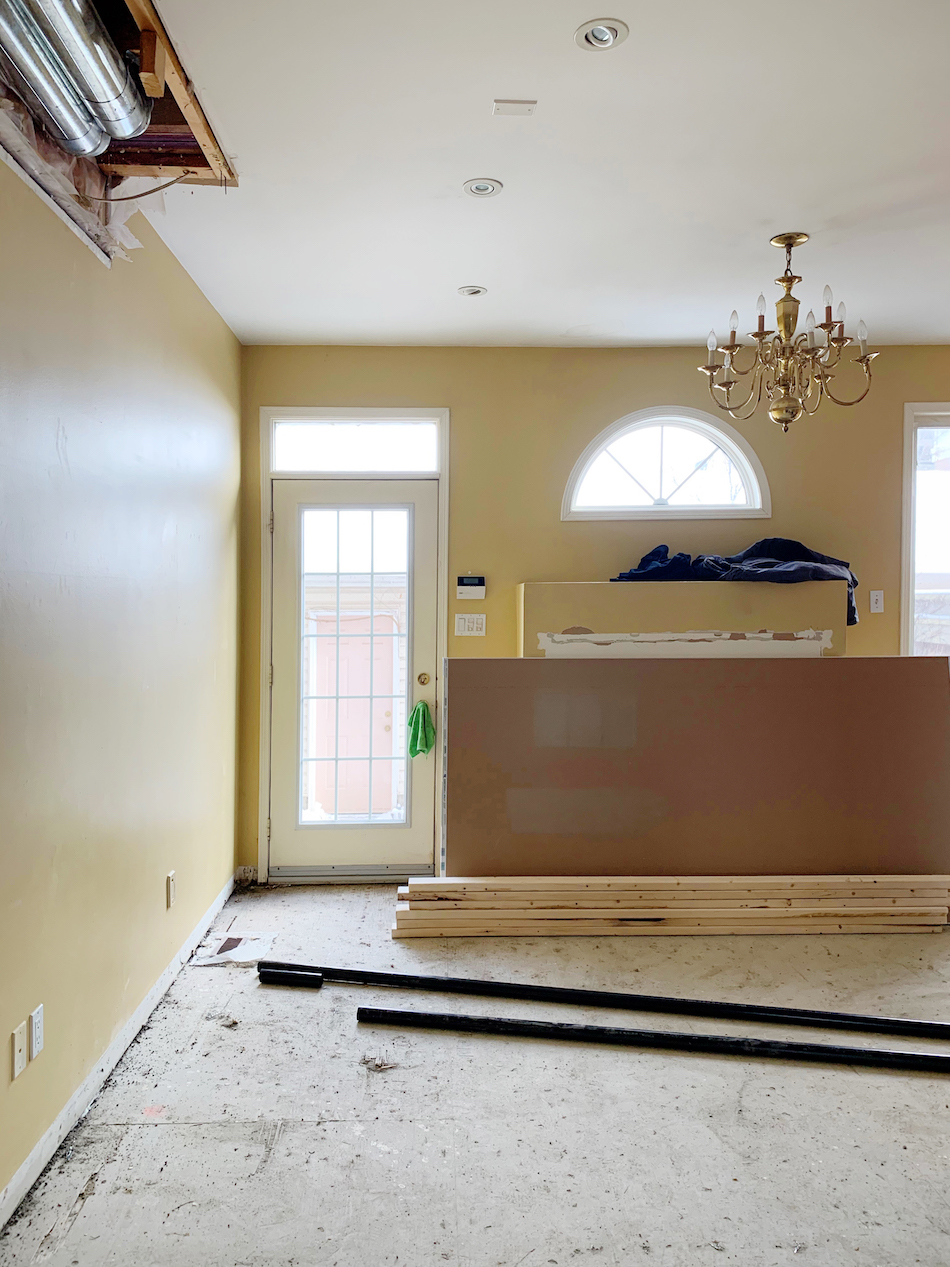
While the cabinets were well under way according to my original designs, once we went to demolish the tiny nib wall – the only wall that I was actually removing completely – we found a pretty major supply air duct that we had no idea about running from the basement up through the wall, supplying fresh air to both the second and third storey above. At first, sheer panic took over as I envisioned two possible case scenarios. 1) Having to redesign the kitchen altogether to incorporate said nib wall and existing ducting, which of course would have been devastating design wise, plus it would have come at an incredible expense – especially since the cabinets were already being built… Or 2) having to reroute duct work and venting throughout the rest of my mom’s home, incurring a ton of mechanical fees… In addition, both options would mean delaying the project for who knows how long.
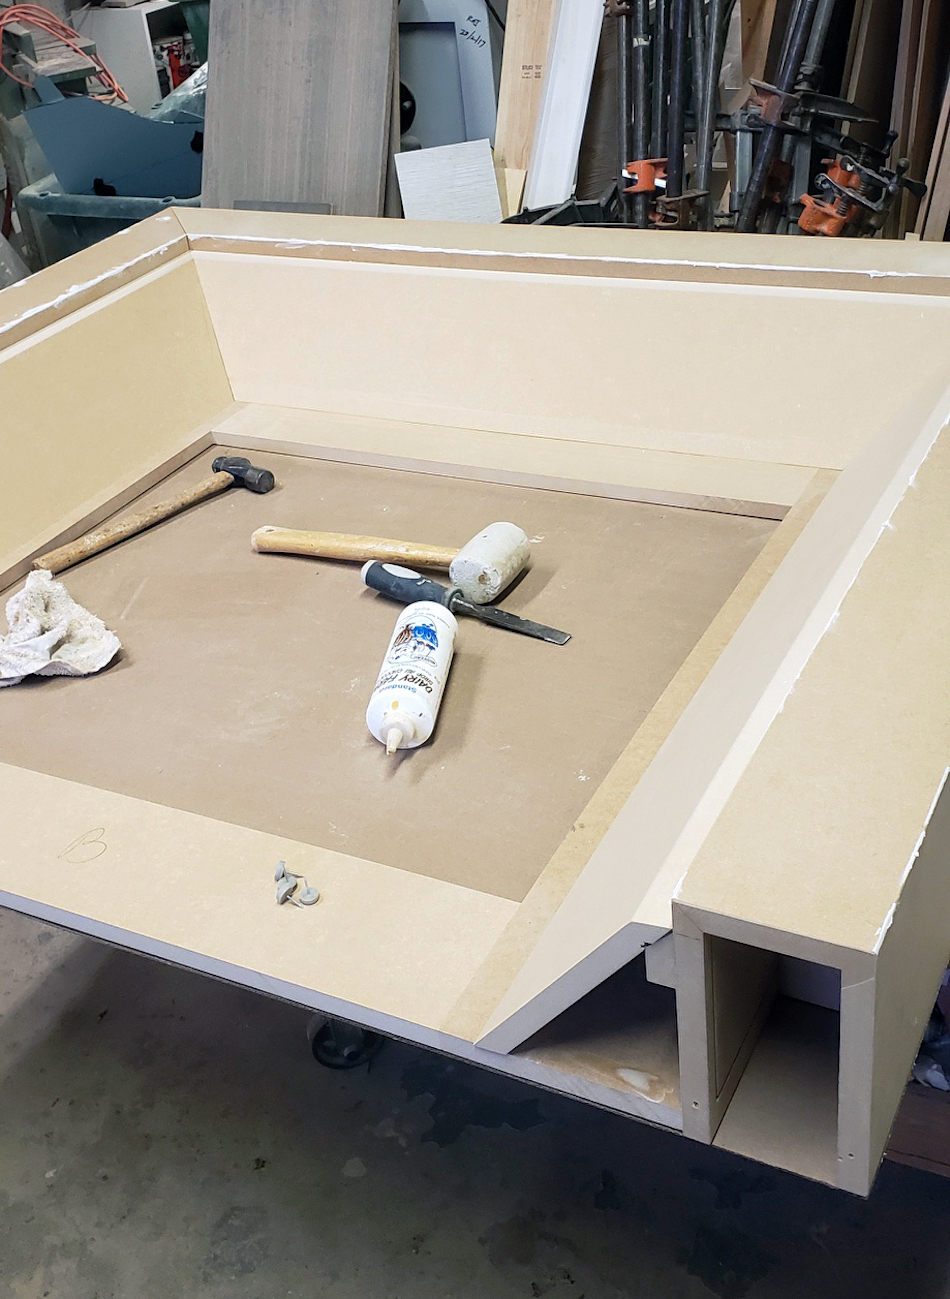
{our fireplace surround in the works}
Luckily, I work with some of the very best trades in the industry and my GC Sandra, of Mabelle Kitchens, was able to help us come up with a solution. After some back and forth, and tossing around a few different ideas, we ultimately established that we could run said duct between the floor joists below, and back up the exterior wall. At first we thought that the new duct would have to run behind the pantry (which would have meant having Scarlet Park rebuild that one cabinet – not ideal but not terrible either). Ultimately though, with some fine craftsmanship, Sandra and her team managed to finagle a solution where the duct ran under the pantry’s kick plate, and back out through the fascia above (hidden behind the crown moulding). Not only did it mean that the nib wall could be removed completely, we also didn’t need to loose any pantry storage, rebuild a single cabinet, redesign a single thing, or undergo any major mechanical work, and all was right in the world again.
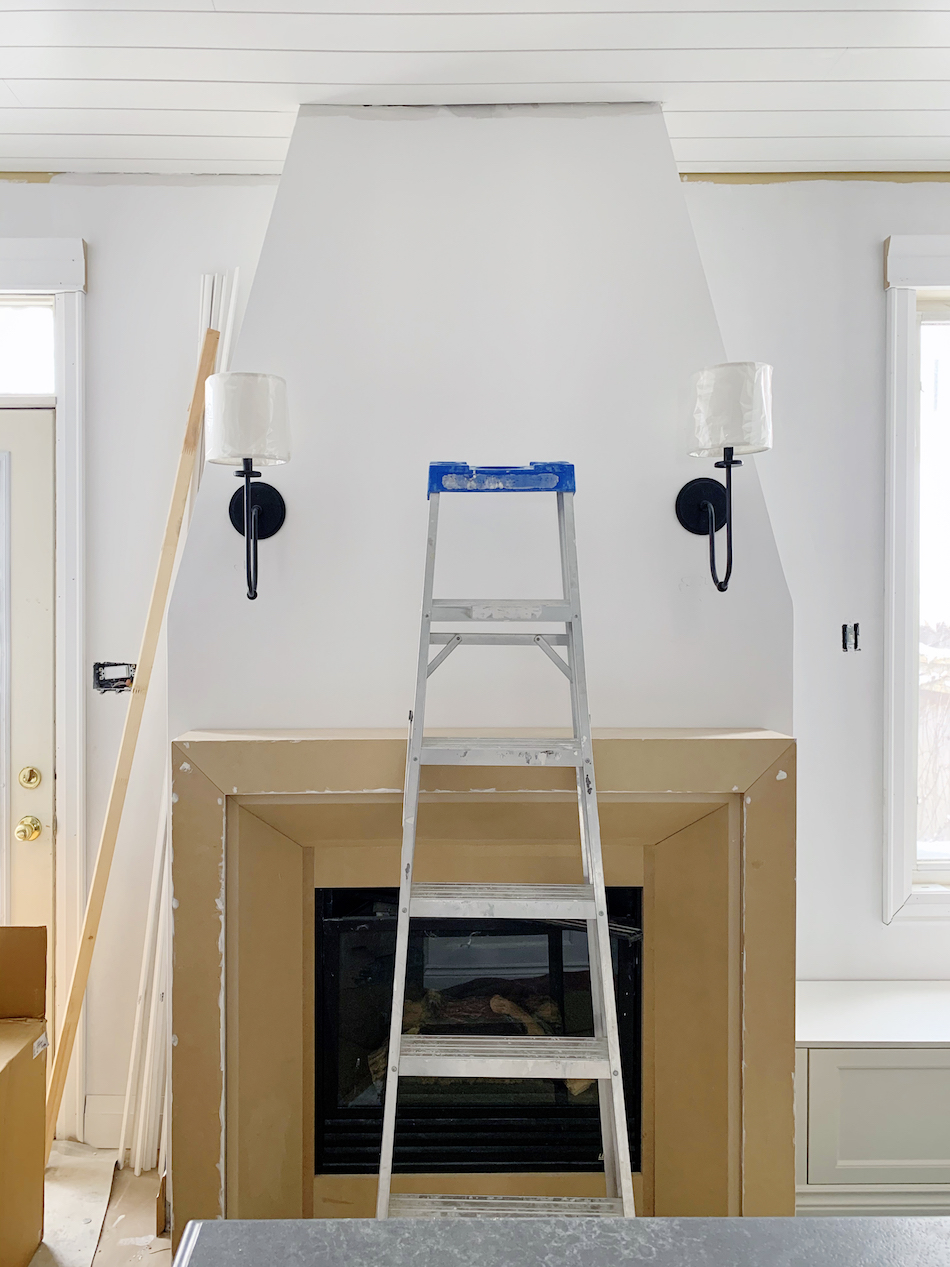
{the fireplace surround being installed}
After being in the interior design industry for thirteen years now I have to admit that construction hiccups are simply par for the course and are to be anticipated. But this was one that I was kicking myself as I really should have known better and trusted my process – I mean, it’s never led me astray. That being said, I’m pleased to announce that the rest of the project has since gone off truly flawlessly and for that I’m forever grateful. Even with what ultimately ended up being a minor hiccup, we are on track time wise, under budget (even with a few last minute additions!), and everything is coming together exactly as I had envisioned it.
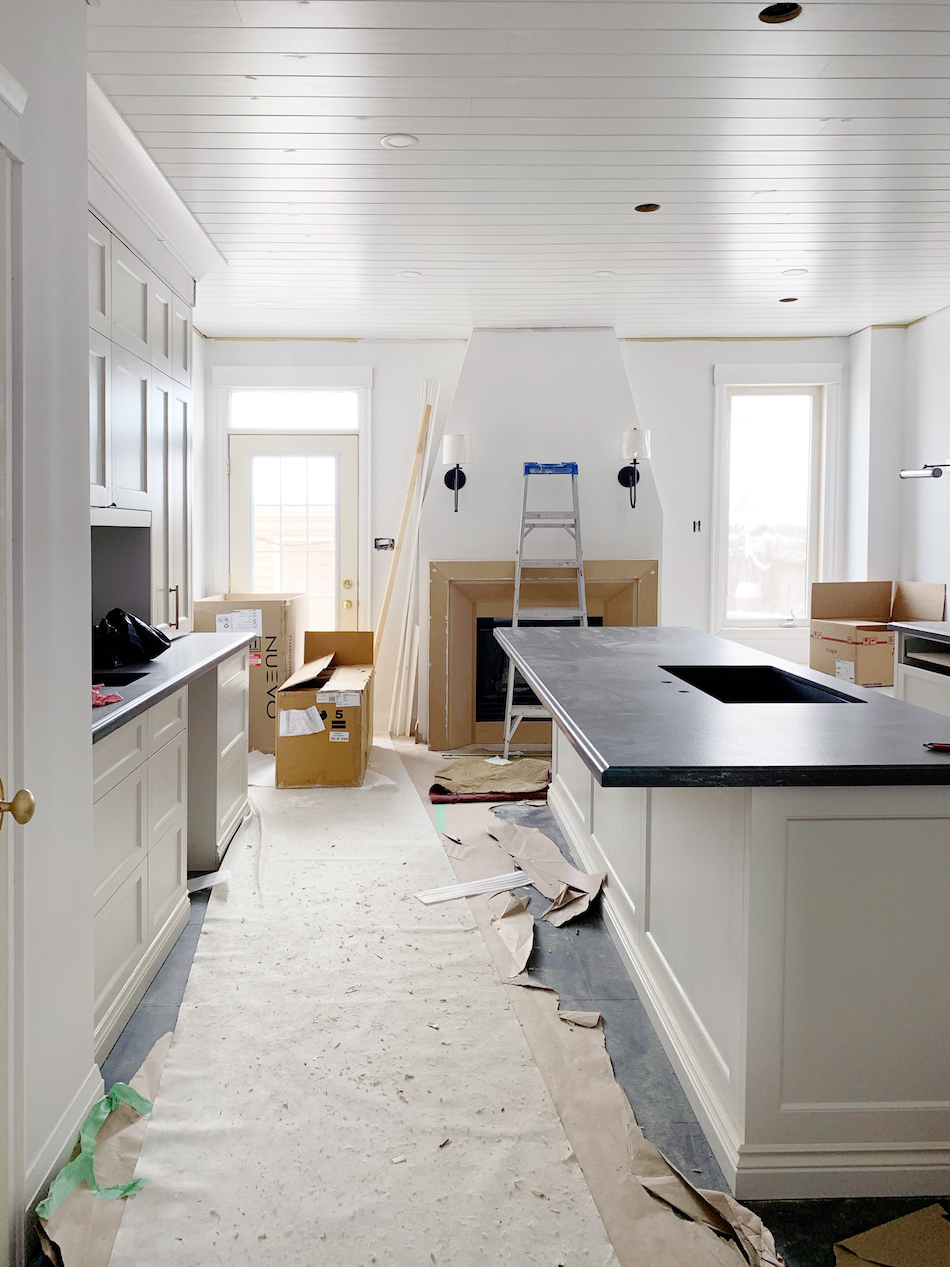
{countertops going in}
All that said, if I can make one recommendation, it’s to FIND YOUR PEOPLE. The team we have is filled with joy and light, and they’re all working tirelessly and effortlessly behind the scenes to bring my mom’s kitchen to life. Their love, dedication, and hard work has been absolutely invaluable. And if it’s one thing I know for sure it’s that your people really do make or break a project.

{that ogee edge detail <3}
We’re actually shooting the space this week, which means that the final reveal is imminent, and for that, I AM PUMPED.
{our site inspector}
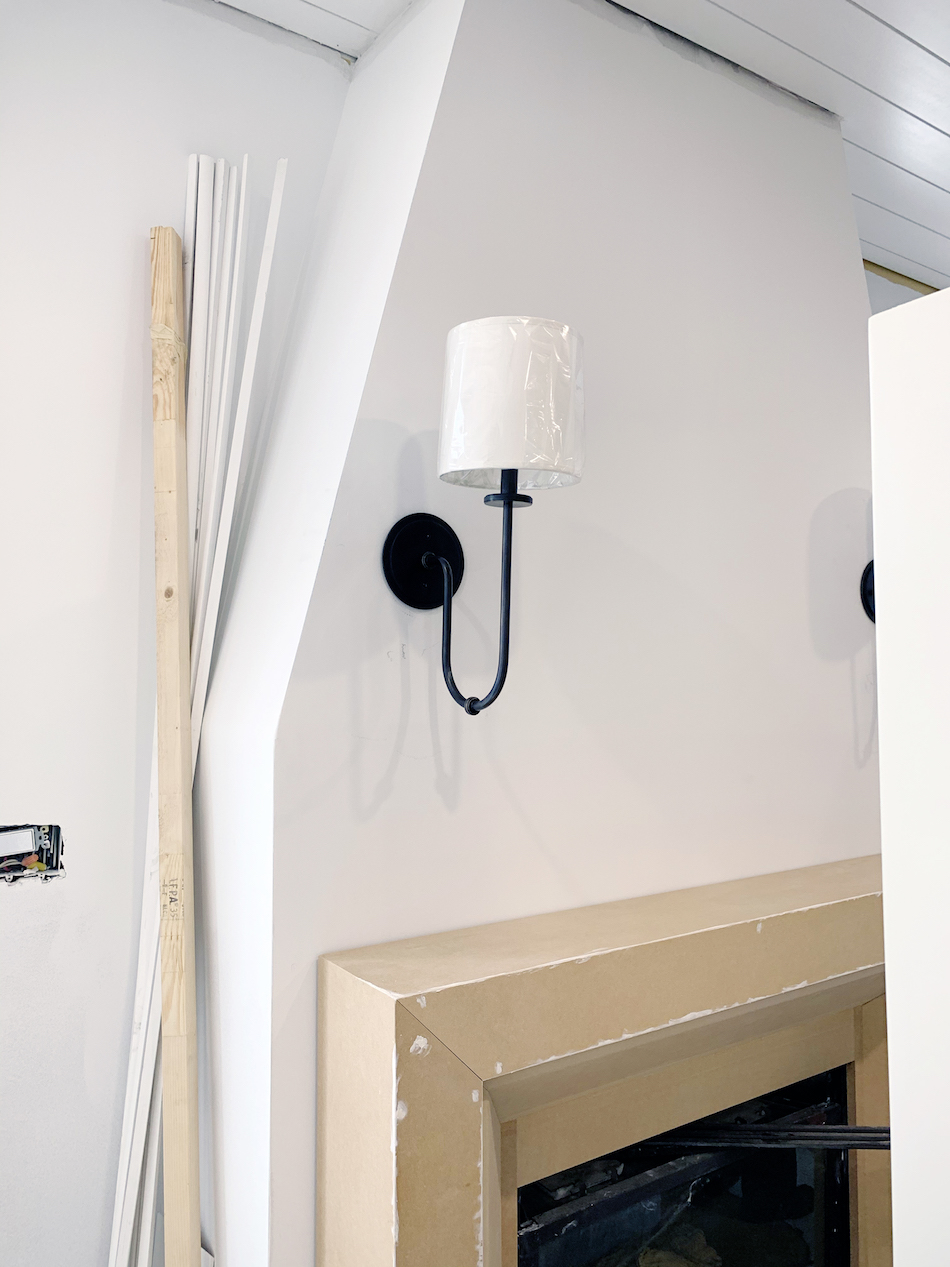
{lighting <3}
{one last sneak peek before the big reveal}
There you have it – a very quick “real life” peek of this exciting project. Mark my words, I will be sharing every last detail (including final paint colours!) in the final reveal post. In the meantime, I’ve covered a lot of sources in this post here. I also covered a lot of the finishes in this post here. And of course, if you missed them…
OTHER POSTS FROM THIS SERIES![[break]](https://jacquelynclark.com/wp-content/uploads/2013/05/line.jpg)
filed in /


Ooooh…things are looking so good!
It’s been a labour of love for sure but we’re THERE!
Hello,
This is so beautiful! As everything you do!
Thank you for sharing and have a lovely day,
Lena
So sweet, thank you so much
This. Is. Fabulous. !!! Can’t wait for the full reveal. xoxo
Thank you Peg!
I’m really excited to see the reveal AND how about an update on you…like a picture of you in process? The big day will soon arrive as both you and your mom ready for different reveals. Can’t wait…
Aw thanks!! The reveal is coming IMMINENTLY! I’m also working on a third trimester update so stay tuned for that <3
I love how honest you are! As an interior design student, it’s really great to be able to learn from an experienced designer!
Ah, I’m so glad you’re finding it helpful! I’m definitely an open book so if you ever have any questions please don’t hesitate to ask. When one of us designers looks good, we all look good, so I’m always happy to share ;)
It looks amazing already, and we haven’t even seen the end results…truly, cannot wait!!!
Thanks Effie!! I can’t wait to share!
Looking forward to the reveal. Can you please share your source for the brass leg cap on the island legs.
I’m prepping the big reveal post as we speak!! The island legs were custom though – I’m not sure you’d be able to find them off the shelf, unfortunately!
[…] The Construction Saga […]