


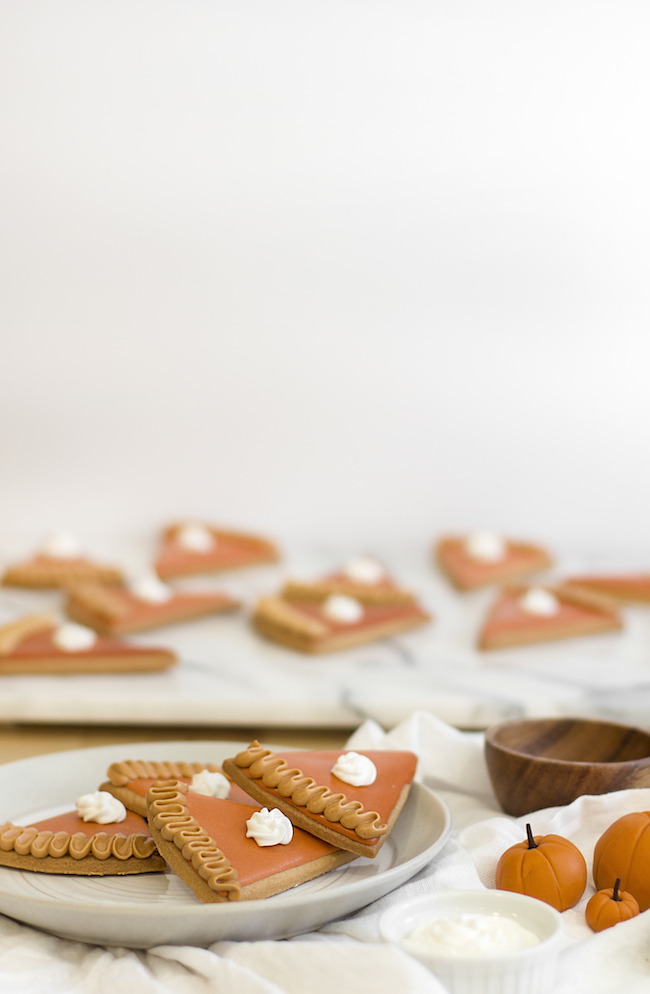
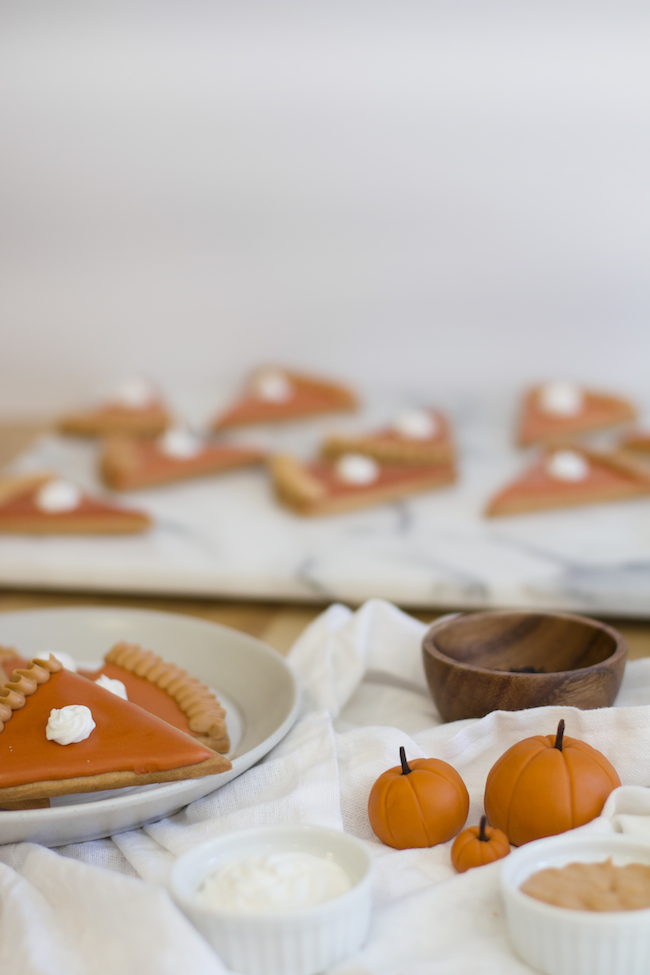
 If it isn’t totally beat-you-over-the-head apparent around here, I’m a bit of a fall fanatic. Any excuse to indulge in a seasonal (ahem grandma-esque) activity is aces in my book. So when my adorable friend Kaylee invited me to join her at Dessert Lady to decorate pumpkin pie cookies, it was a bit of a no brainer. It isn’t often that you get to spend your Monday afternoon covered in icing for “work”, so when the opportunity arises you obviously take it. It ended up being the very best way to spend the day, and instantly put me in the fall spirit. And while this variety of cookie is typically pretty but overly sweet, that is so far from the case here. I can attest because I devoured every last one (don’t judge). And if you’re in the mood to whip em up yourself, Mandy, the genius behind Dessert Lady, is sharing her secret recipe below. Happy fall-ing, friends!

- FOR THE SUGAR COOKIE
- 4 oz Butter
- 4 oz Granulated Sugar
- 1 Egg
- 20g Homo Milk
- 1/2 tsp Pure Vanilla Extract
- 1/4 tsp Salt
- 1 tsp Baking Powder
- 8 oz Cake Flour
- FOR THE ROYAL ICING
- 3 ounces pasteurized egg whites (can be bought in any grocery store)
- 1 teaspoon vanilla extract
- 4 cups confectioners' sugar
- Orange, Red, Chocolate Brown, Egg Yellow, & Ivory Food Colouring
- FOR THE SUGAR COOKIE
- Cream the butter and sugar together until light and fluffy in a mixing bowl. Add egg, milk and vanilla, mix until combined.
- In a separate bowl, combine flour, baking powder, and salt in a bowl, mix well.
- Add the flour mixture into the egg mixture, mix until combined.
- Refrigerate the dough overnight before using it.
- Once refrigerated, preheat the oven to 350ºF.
- Lightly dust the work table with flour and roll the dough until it's 1/4" think. Cut out 2 circles with a 8" cake ring.
- Use a pizza cutter, cut each circle into 6 pieces
- On a parchment lined baking sheet, bake for 13-15 minutes, or until golden brown in colour. Let cool completely on the rack.
- FOR THE ROYAL ICING
- Beat egg whites in clean, large bowl with mixer at high speed until foamy. Gradually add sugar and vanilla extract. Beat at high speed until thickened.
- Divide the white royal icing in the 3 separate bowls. One for the "pie filling", one for the "crust", and one for the "whipped cream".
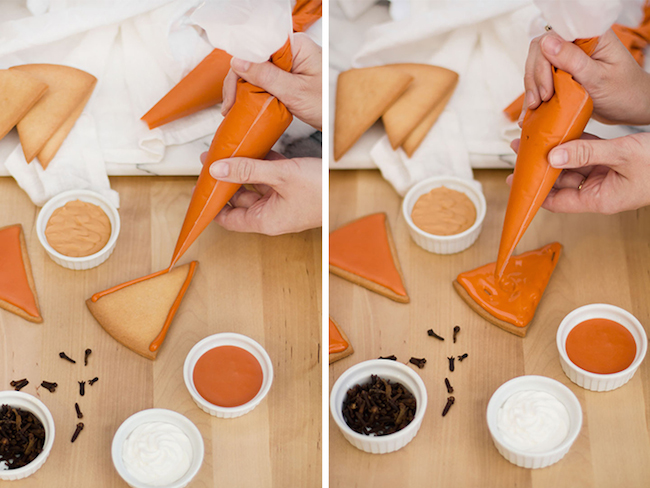
- Add the follow food coloring into the "pie filling" royal icing: Orange (5 drops), Red(1/2 drop), Chocolate Brown(2 drop), Egg Yellow (1/2 drop). If the icing is too thick, you can thin it out with a bit of egg white. Should be runny in texture. Place in a paper cone, flood the whole slice of cookie. Set aside, and let it dry for 30 mins.
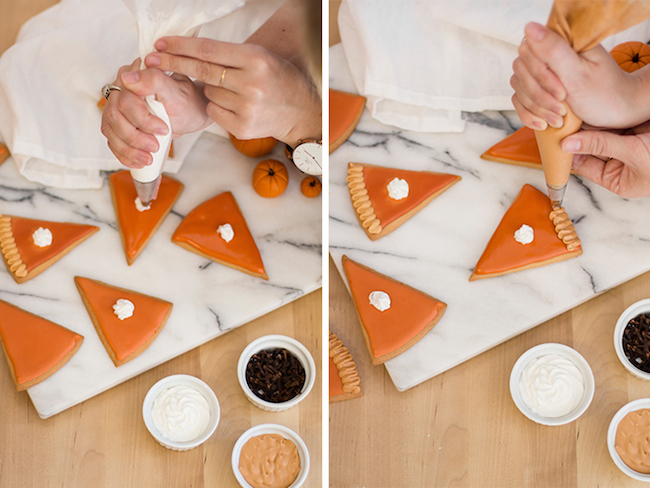
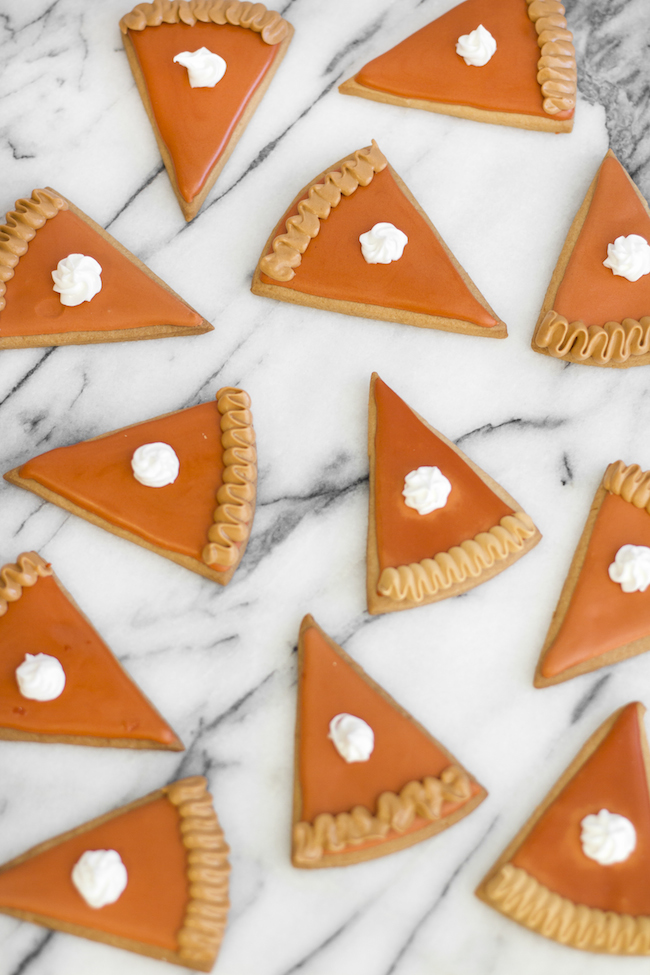
- For the "crust" add, Ivory(3 drops), Chocolate Brown(1/4 drop), Egg Yellow (1 drop), mix it in. Use the pedal piping tip and pipe the shells.
- For the "whipped cream", use the star piping tip and pipe a white rosette in the centre.
- Let dry completely and enjoy
filed in /


